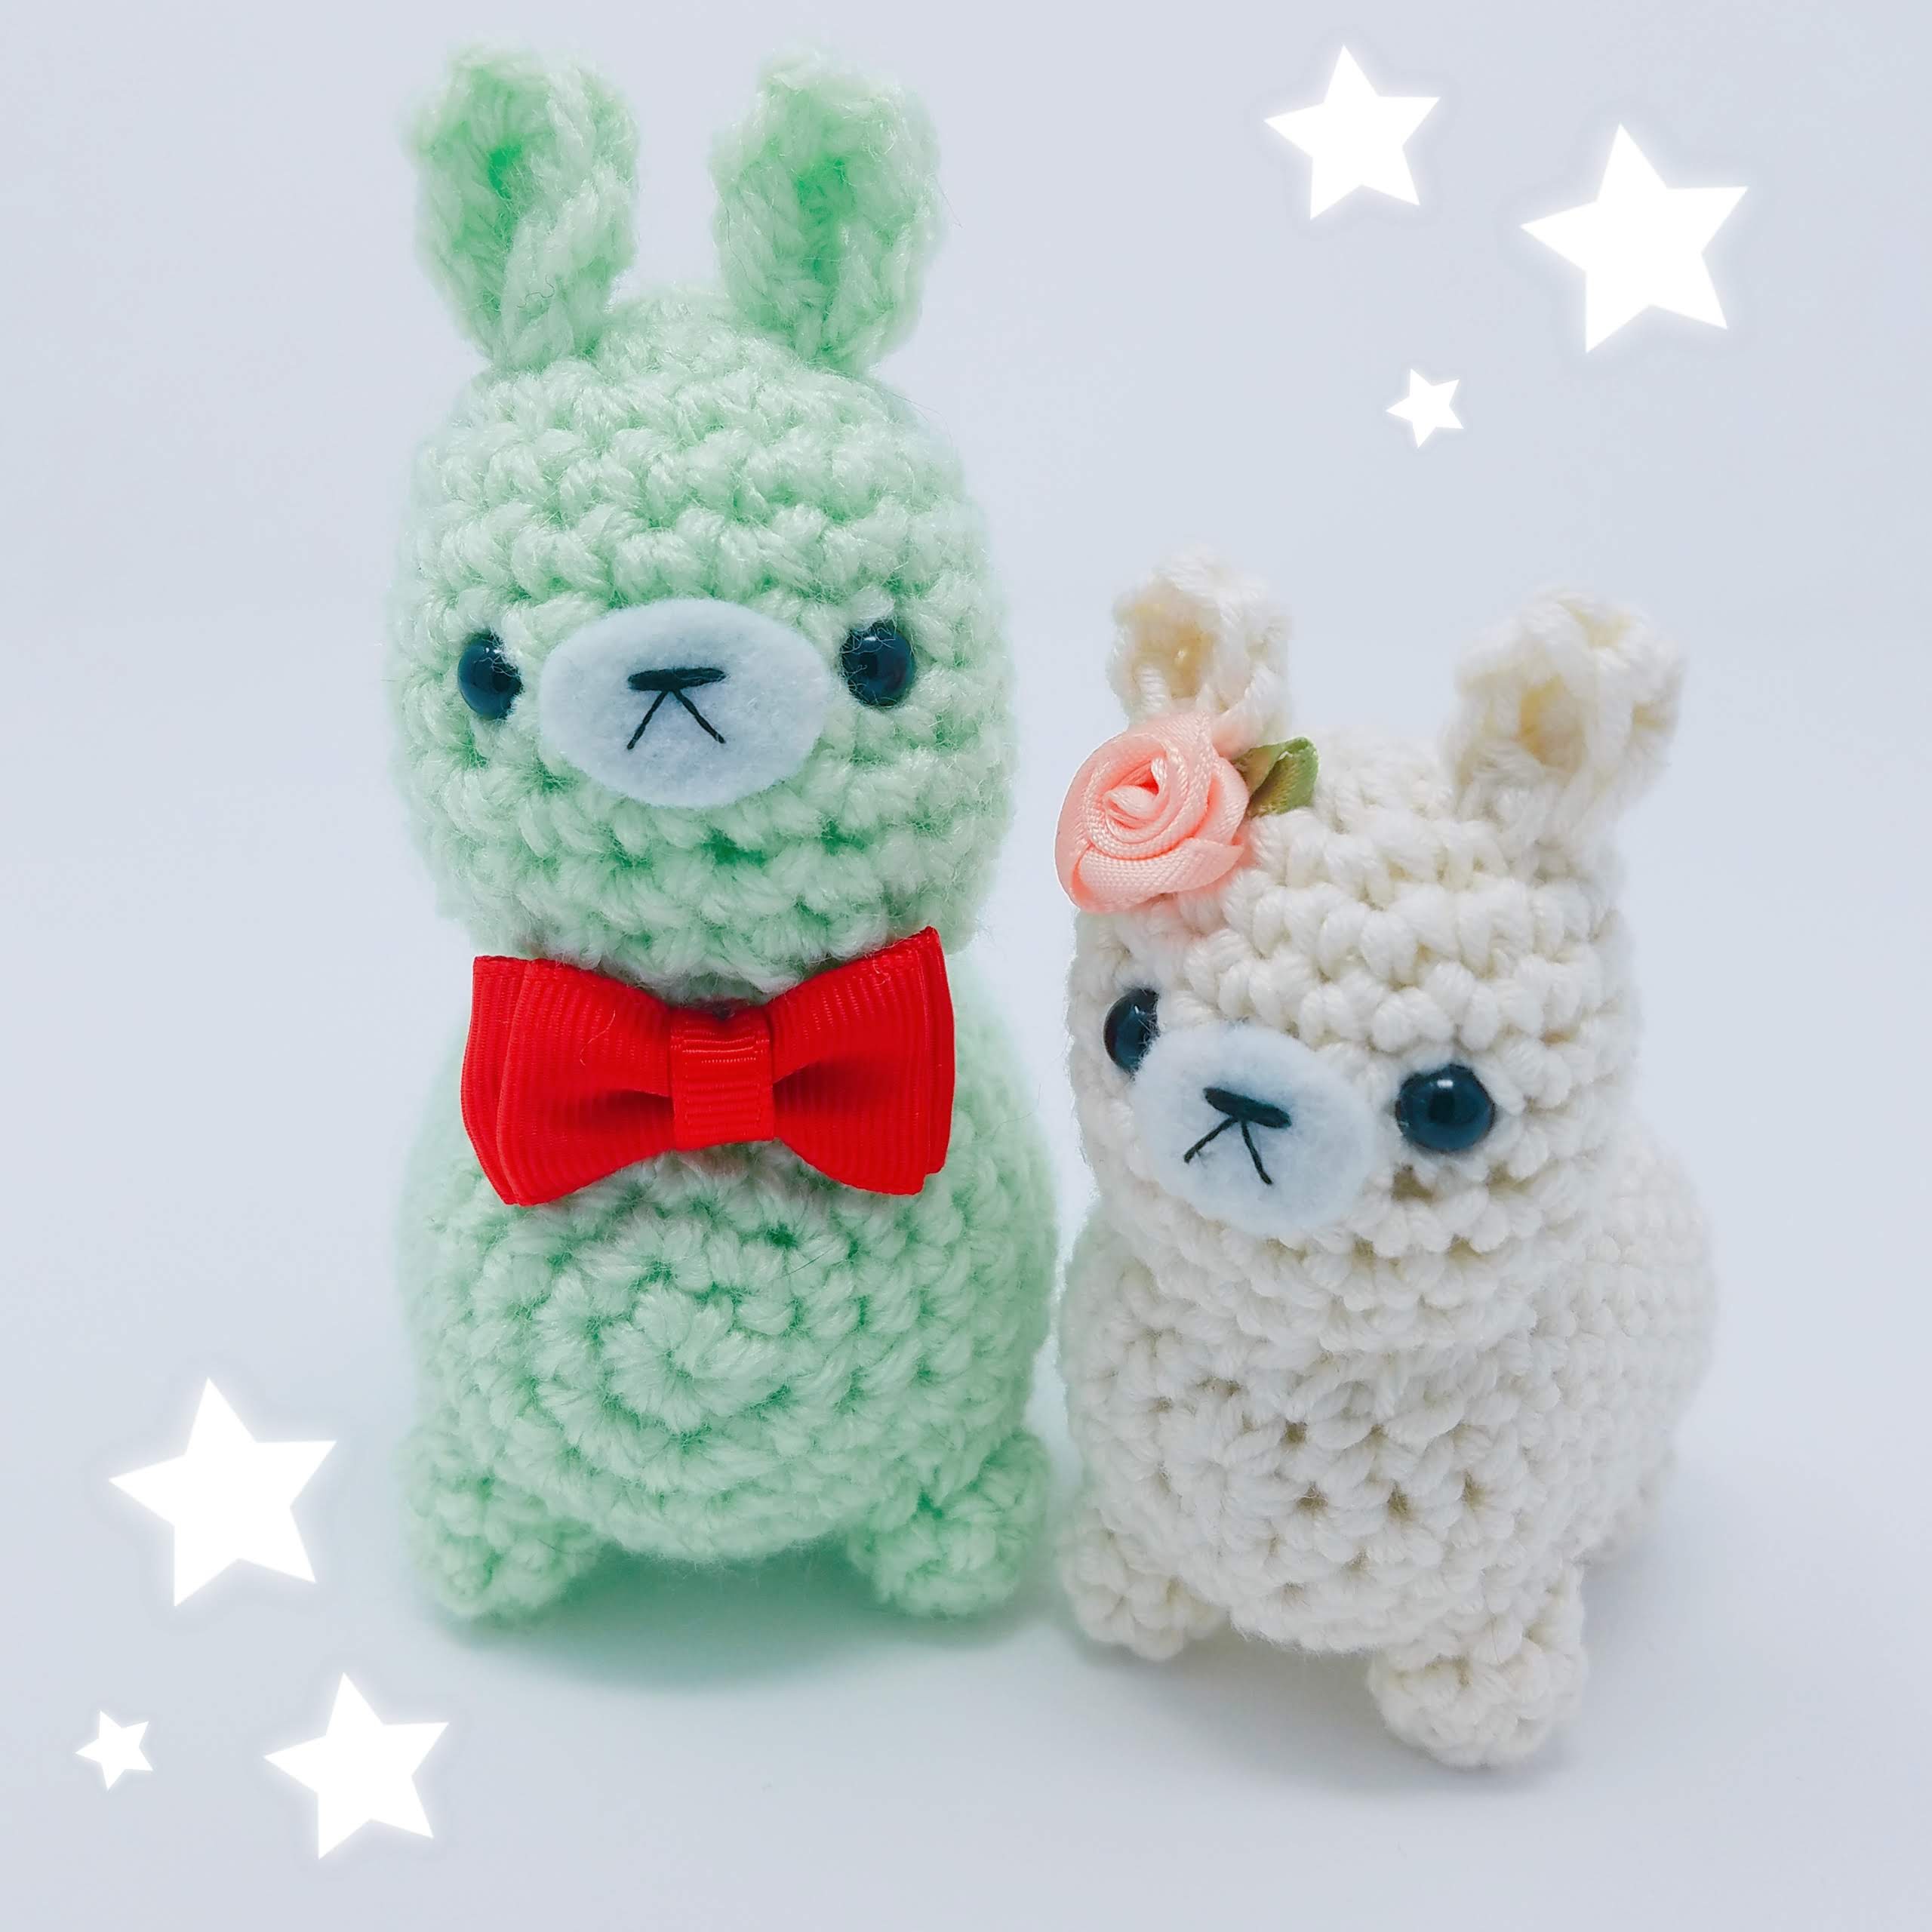
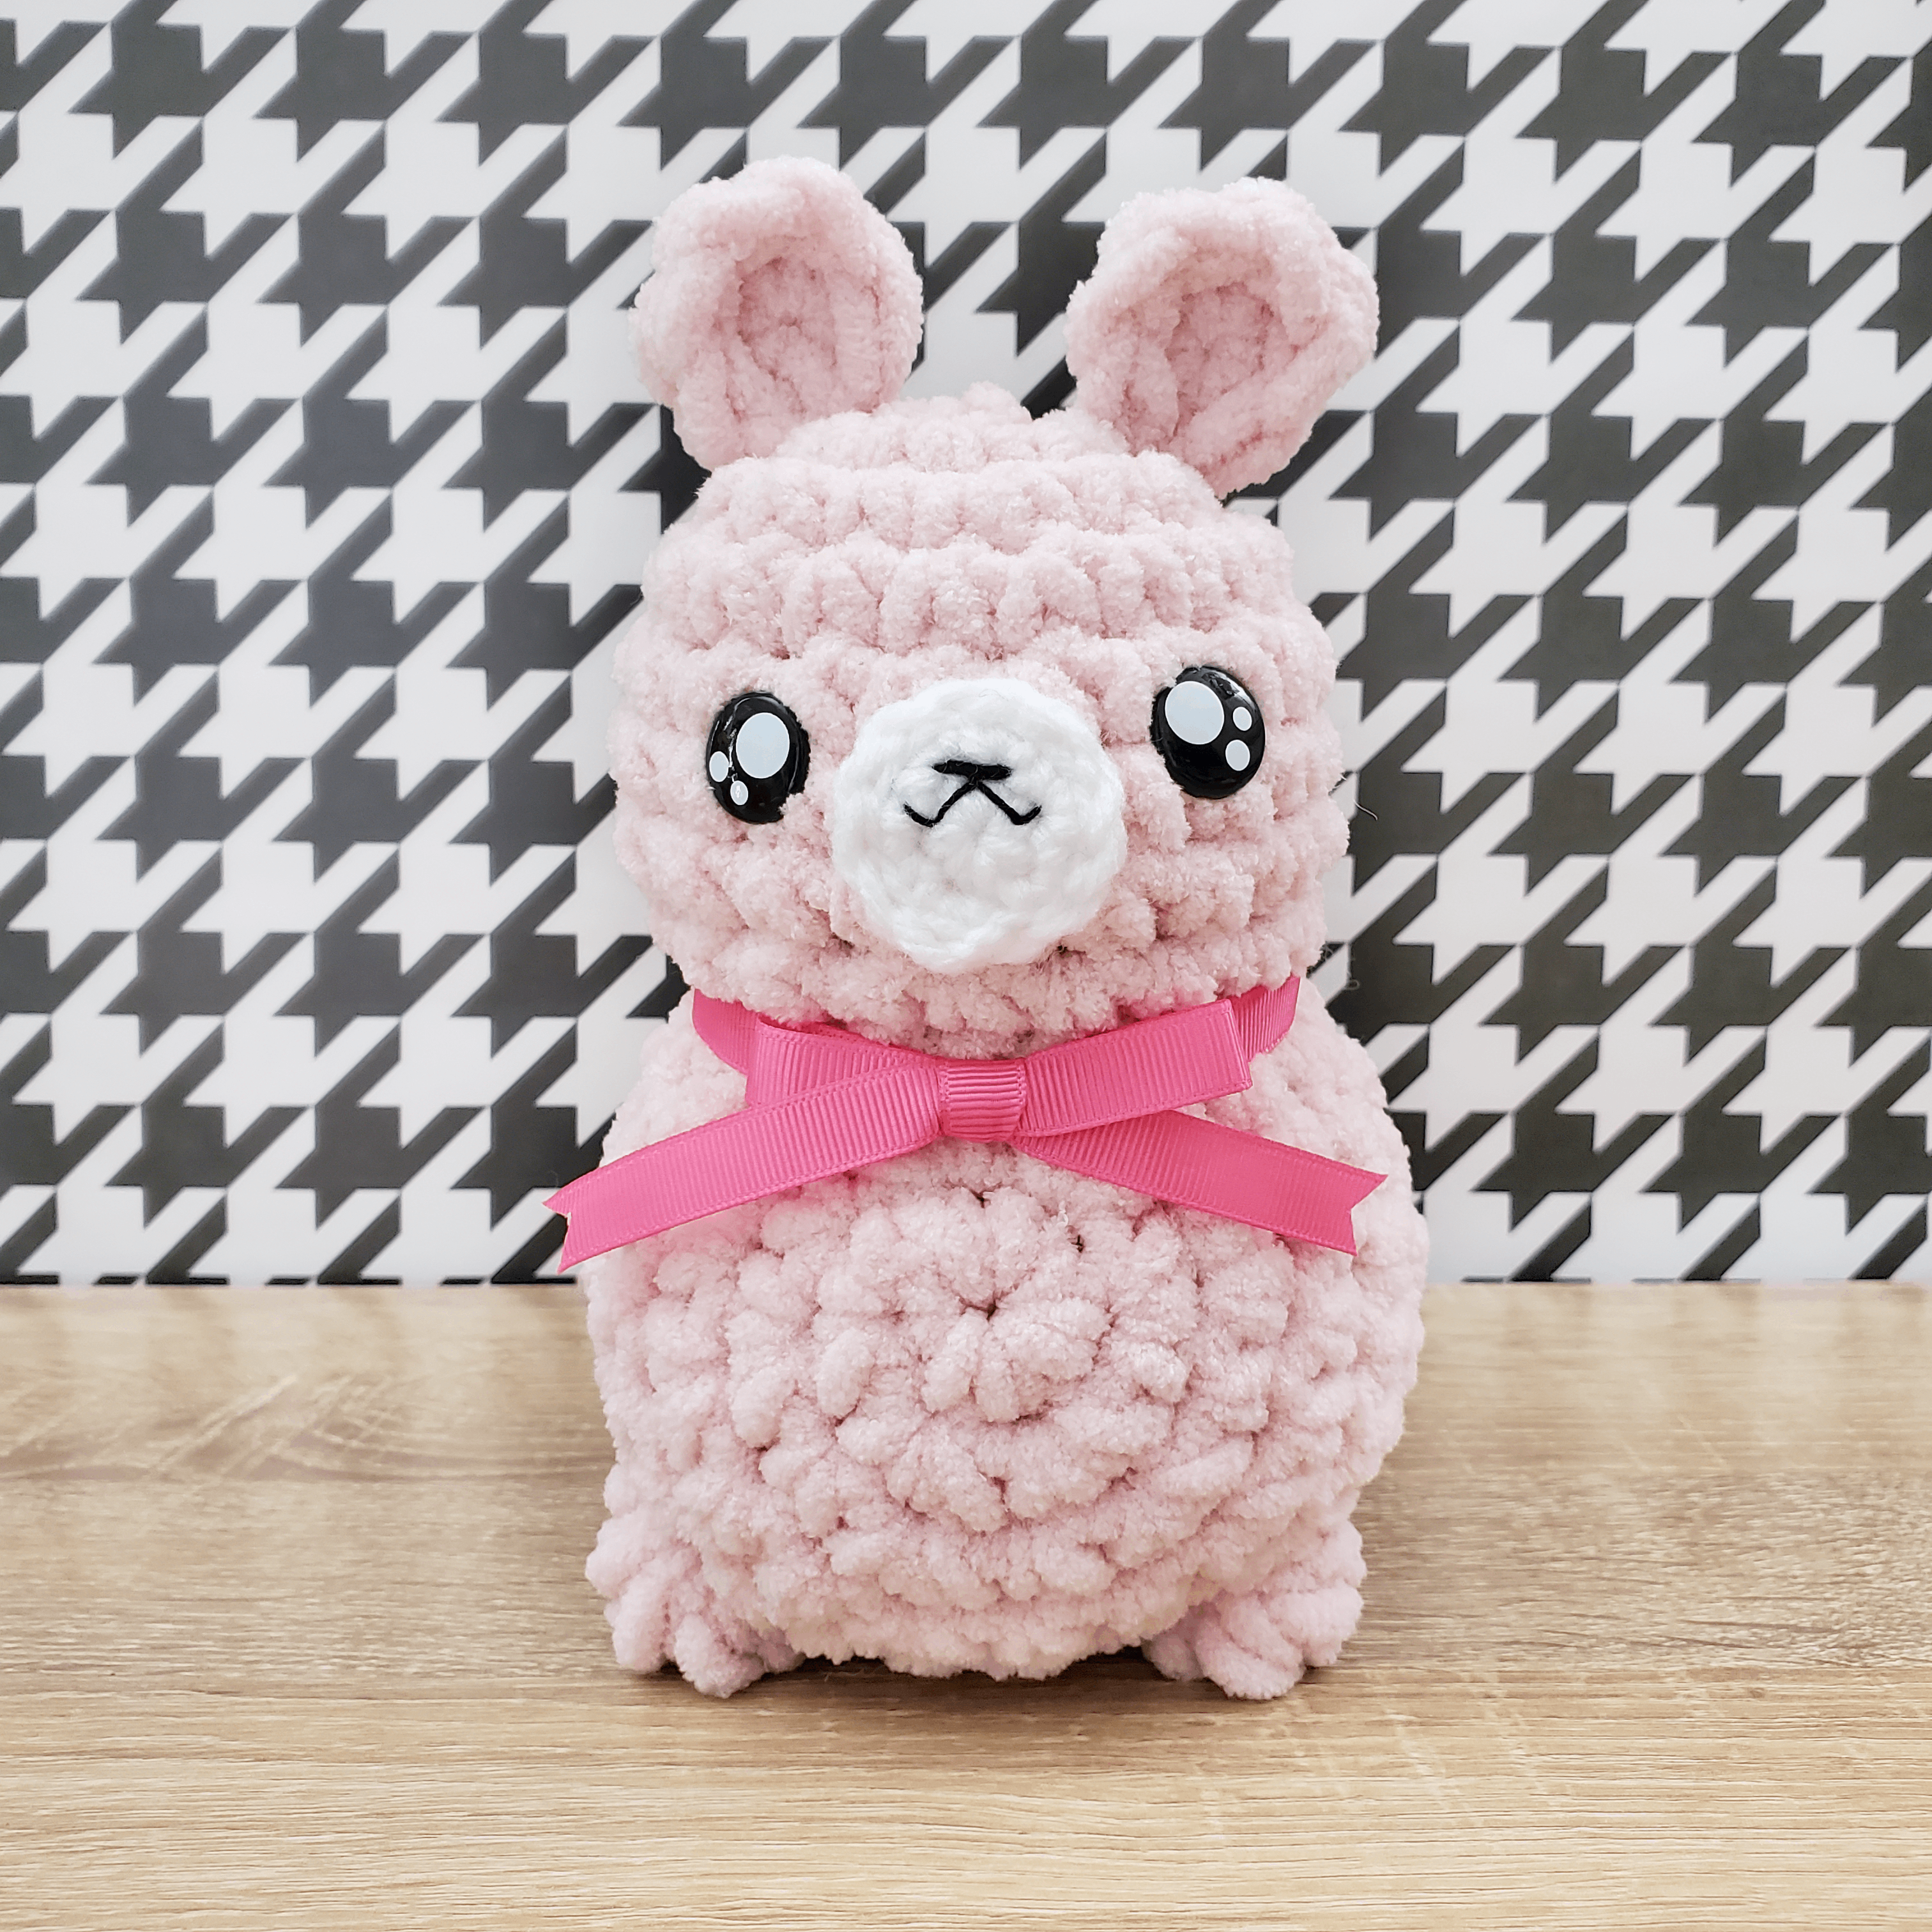
If you’ve been following my blog for awhile now, you may remember these handsome little fellows I made a while back:
Every so often, I go back and revisit old patterns of mine and see what I can do to improve on their design. I still absolutely adore this alpaca pattern (click here to view the original pattern!), but I have a few new things to add/update with his design.
Chunky Yarn!
I’m late to the game with chunky yarn. I’ve seen so many crocheters make things with super bulky yarn and always thought, “Huh. That’s cute!” Then I’d immediately forget about it and go back to working in worsted weight yarn.
Well, it finally clicked that I could also use chunky yarn to make a design and I have to say, it’s pretty tempting to never go back to worsted weight.
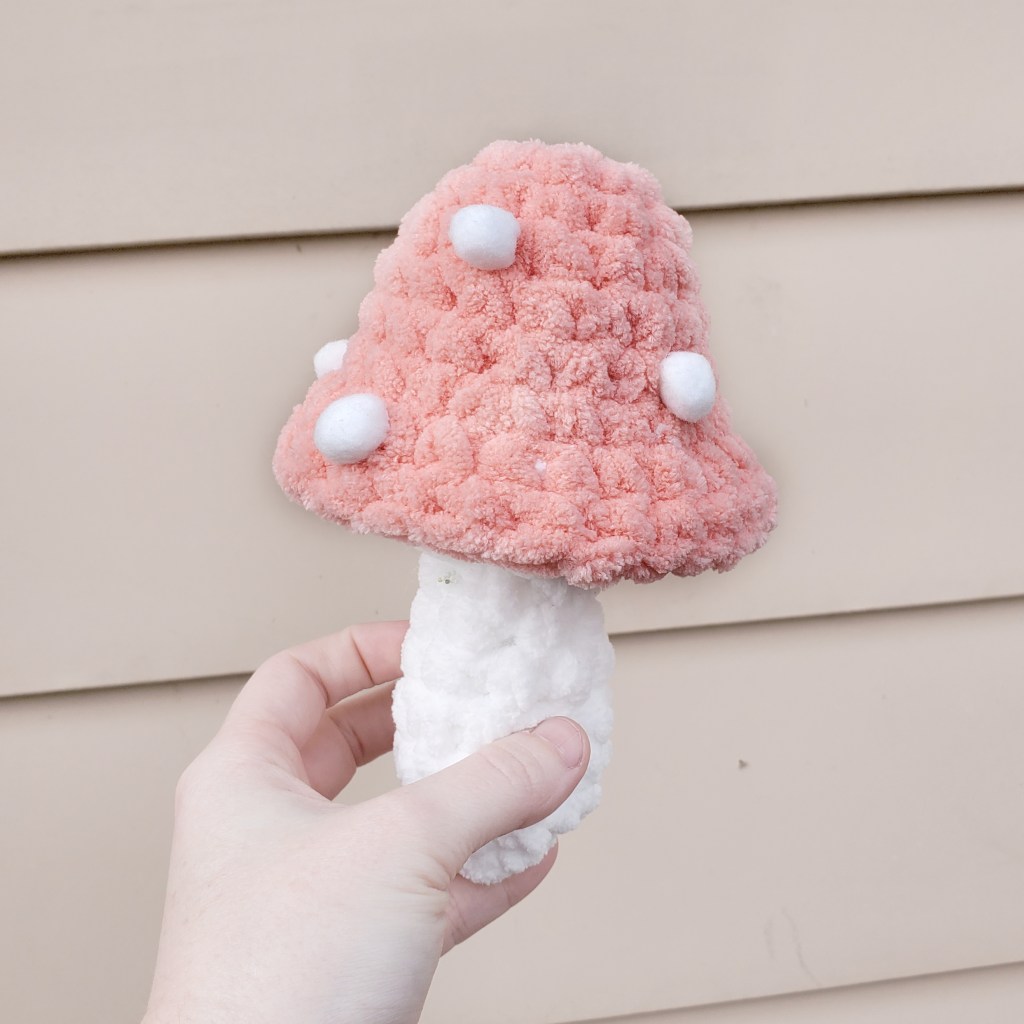
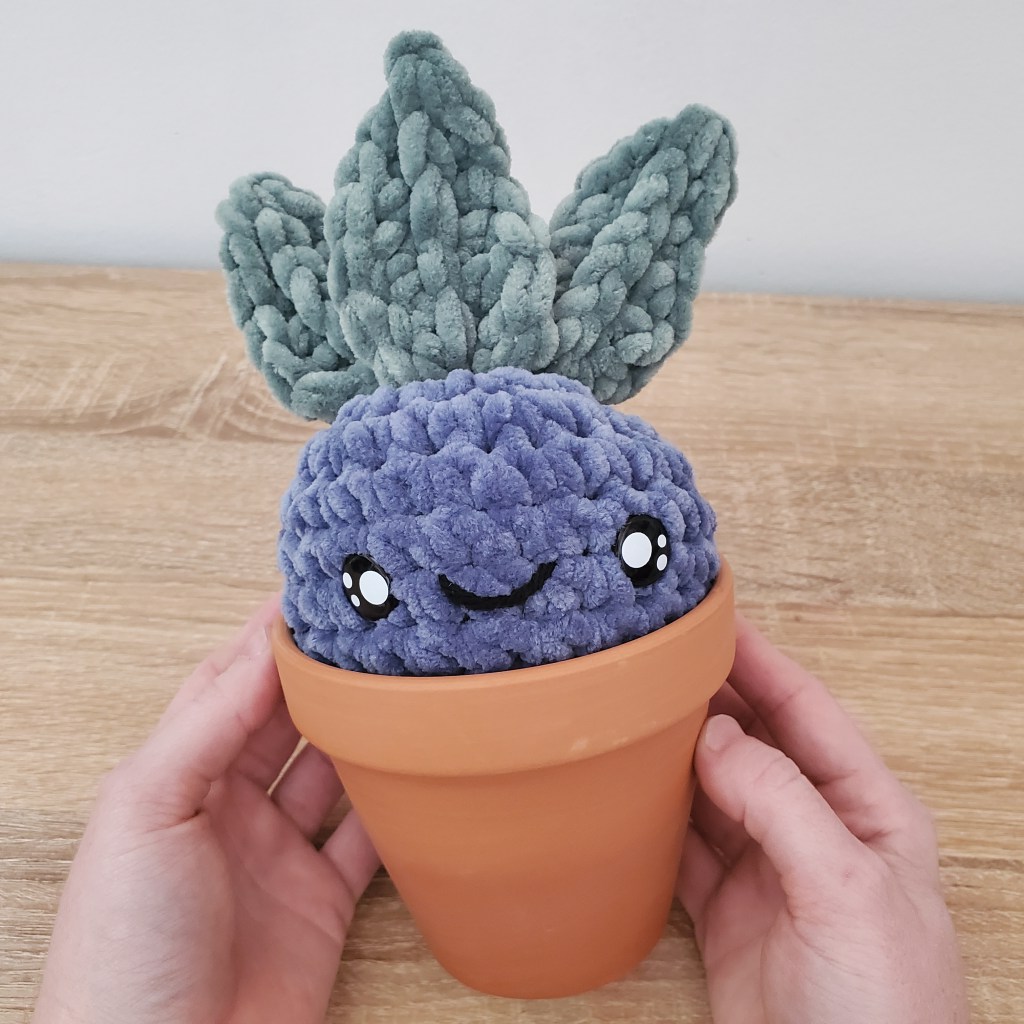
There’s something about bulky yarn that gives the finished amigurumi an almost felted quality. Here are a few examples of things I’ve already crocheted out of bulky yarn:

You also get a larger plushie, which takes significantly longer to do with worsted weight yarn. What’s not to love?
However, true to my worsted-weight roots, I thought to maybe mix some worsted weight yarn in to this project to create the alpaca’s mouth detail.
Video Tutorial
As with most of my newer patterns, here is the video tutorial – below, you’ll find a rudimentary written out pattern to follow.
I highly recommend using the video and the written pattern together, especially if you’re a beginning crocheter who’s not used to reading patterns, but also during some of the trickier bits on the pattern’s construction. You know how they say a picture’s worth a thousand words? A video is worth a thousand pictures!
If you view the video directly on YouTube, you’ll be able to see all of the time stamps for each section. I’ll also reference time stamps in each section below to help you follow along.
Materials
| Weight 6 Super Bulky Yarn in your choice of color (I chose pink!) |
| Worsted weight yarn in white |
| 10mm crochet hook |
| 4mm crochet hook |
| stuffing |
| 12mm-15mm safety eyes (I used this brand here) |
| black embroidery thread |
| tapestry needle |
| ribbon (optional) |
Abbreviations
Some of these may not be used in the pattern – these are the stitches that I use most frequently! If you see an abbreviation that you are unfamiliar with, please refer back to this chart.
| ML | Magic Loop/ Magic Ring |
| R | row |
| st | stitch |
| slp st | slip stitch |
| ch | chain |
| sc | single crochet |
| hdc | half double crochet |
| dc | double crochet |
| tr | treble crochet |
| FLOsc | front loop only single crochet |
| FLOscdec | front loop only single crochet decrease |
| BLOsc | back loop only single crochet |
| BLOscdec | back loop only single crochet decrease |
| inc | increase |
| dec | decrease |
| * * | repeat instructions inside until indicated to stop |
| ( ) | number of stitches at the end of each row |
Pattern
Alpaca Head
Use chunky yarn and 10mm hook
R1: ML 6sc
R2: inc in each st (12)
R3: *sc, inc* around (18)
R4-R7: sc around (4 rows total!)
Fasten off, leaving long tail for sewing. We’ll come back and attach the eyes and mouth, then stuff this and sew it on to the body.
Body
Use chunky yarn and 10mm hook
R1: ML 6sc
R2: inc in each st (12)
R3: *sc, inc* around (18)
R4: *2sc, inc* around (24)
R5: sc around
R6: sc 5 sts, then 5DC bobble stitch in the next stitch. Sc in next 4 sts, then 5DC bobble stitch in the next stitch. Sc in all remaining stitches.
R7-R10: sc in each stitch (4 rows total!)
R11: sc 6 sts, then 5DC bobble stitch in the next stitch. Sc in next 4 sts, the 5DC bobble stitch in the next stitch. Sc in all remaining stitches.
R12: sc around
R13: *2sc, dec* around (18)
R14: *sc, dec* around (12)
Stuff body here!
R15: dec in each st (6)
Ears (make 2!)
Use chunky yarn and 10mm hook here
R1: ML 6sc
Slp st to first sc, then fasten off, leaving long tail for sewing.
Mouth
Use white worsted weight yarn and a 4mm crochet hook
R1: ML 6sc
R2: inc in each st (12)
R3: slp st around
Fasten off, leaving long tail for sewing.
Use black embroidery thread to create the mouth. I recommend watching the section starting at 19:51 in the video!
Assembly
Assembly section starts at 22:51 – I highly recommend watching!
Position mouth patch between eyes on head. Attach safety eyes and then sew mouth patch on.
Stuff head, and then whip stitch head onto the body using the tail left over from the head.
Using the tail from each ear, attach ears to top of head.
If desired, use a little ribbon to tie a bow around your alpaca’s neck.
Complete!
That wraps up this tutorial. I hope you liked making your very own alpaca!
I would so, so, so appreciate a like and follow on YouTube, or a subscription to my blog – I plan to continue sharing these video tutorials!
Please feel free to share this pattern with friends by pinning this post on Pinterest, sharing on Facebook, or sending the link along!

Missy

