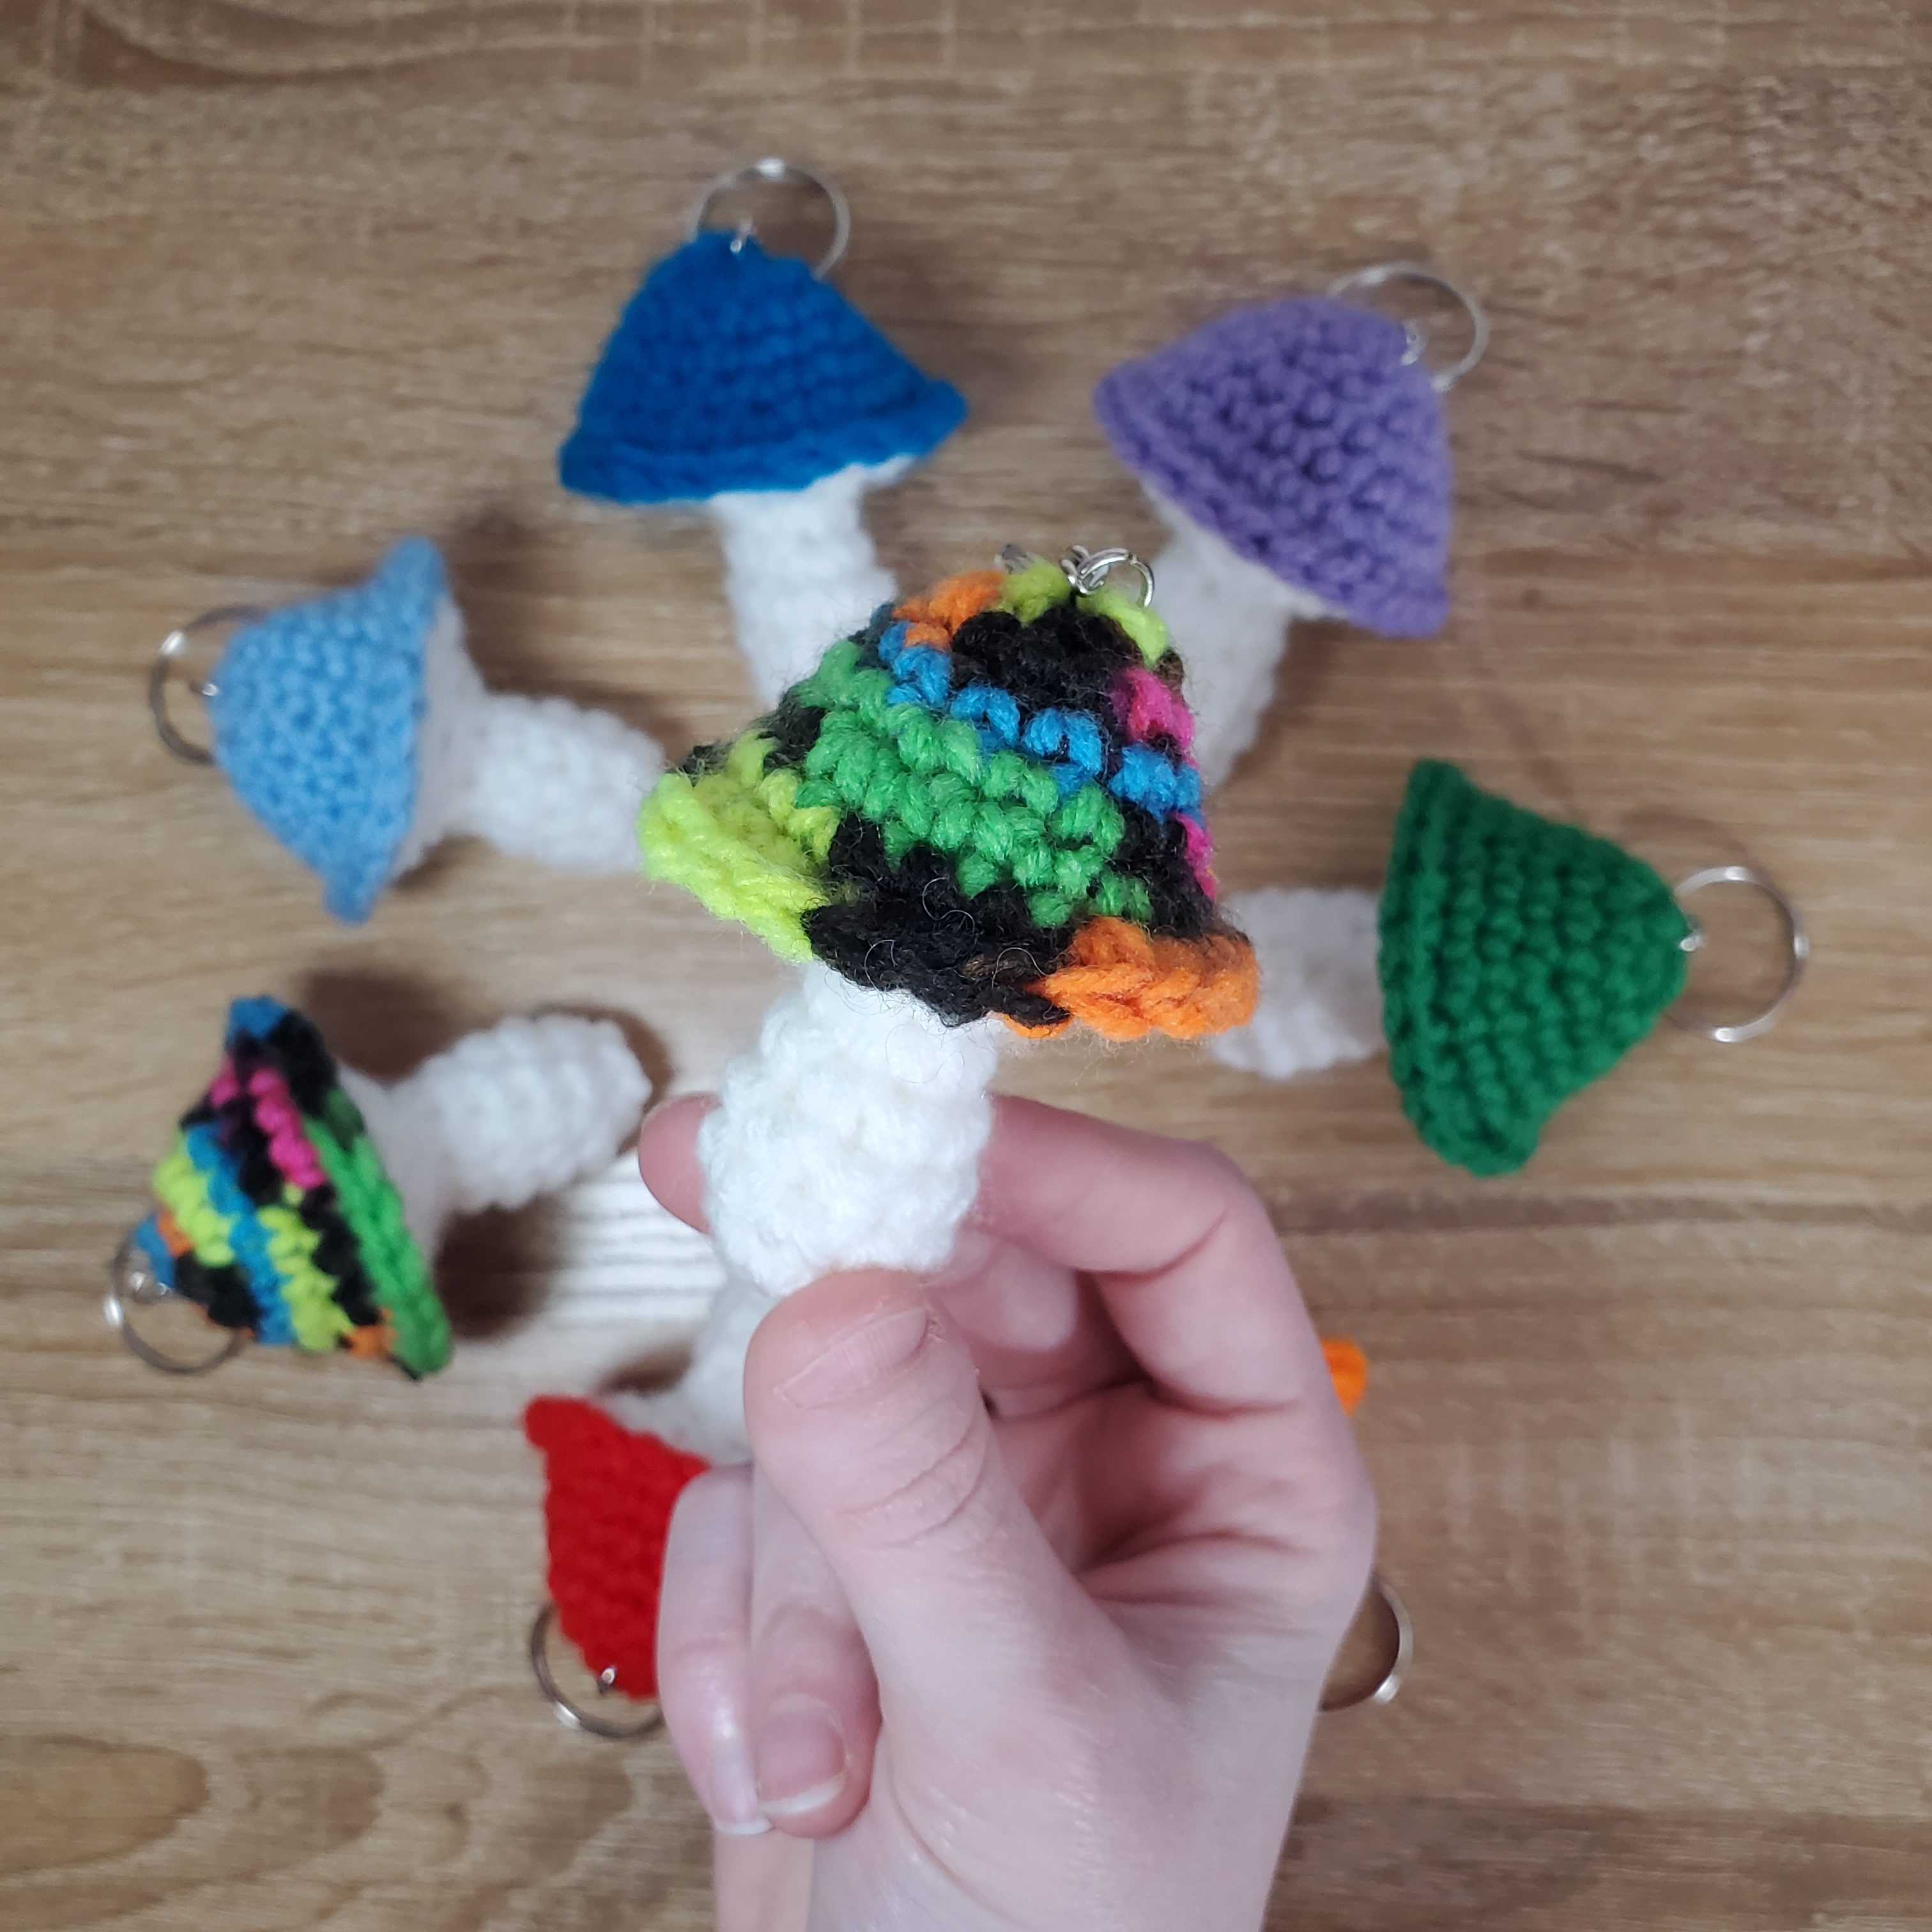
Has anyone noticed how popular mushrooms seem lately? I feel like I see them everywhere – not that I’m opposed. I’ve always been a fan of them, ever since the power-up and one-up mushrooms from Super Mario.
I did want to try to recreate my very own toadstool via crochet, so I whipped up another video tutorial so you can too. It’s live on my YouTube Channel now, but I’ve also included the video here on the write up of the pattern, so you can reference it even easier while making this little plushie for yourself!
This little mushroom is super cute made in a rainbow of colors, or maybe even in a variegated yarn. I’ve also made them in super chunky fluffy yarn, and they turn out so adorable! I used pom-poms and some hot glue to make mine have polka dots for the chunky ones, but the smaller size uses some French Knots to add the spots.
You can, of course, add pom-poms to yours. All you’ll need is a hot glue gun and some pom-poms!


Video Tutorial
Here is the video tutorial – below, you’ll find the pattern write-up. I’ll reference this video by adding time markers (in case you’d rather not watch the video to make your own mushroom). There will definitely be some places where watching the video will be very helpful!
Ingredients
Abbreviations
Some of these may not be used in the pattern – these are the stitches that I use most frequently! If you see an abbreviation that you are unfamiliar with, please refer back to this chart.

Cap, Part 1
Start in red yarn (or whatever color you’re using as your main color)
R1: ML 6
R2: inc in each st (12)
R3: sc around
R4: *sc, inc* around (18)
R5-R6: sc around (2 rows total)
R7: *2sc, inc* (24)
Change colors, keeping the main color attached and pulled to the front of your work (reference video marker 3:30)
Stem
Continuing in white
R8: in BLO, *2sc, dec* around (18)
R9: *sc, dec* around (12)
Stuff mushroom cap here!
R10: dec in each st
R11: in BLO, 6sc (6)
R12: sc, inc, 2sc, inc, 3sc, inc (9)
R13-R17ish: continue working around, making the stem of the mushroom. This is up to you – you can make your mushroom stem as long or short as you wish. Be sure to stuff the stem as you go!
Last Row: *sc, dec*
Fasten off, leaving a long tail for sewing both the mushroom closed and the polka dots. We need to finish the cap before we sew the polka dots.
Cap, Part 2
Now that we’ve finished the stem, we need to add the “skirt” of the mushroom. To do that, grab the still attached main color of the cap, and work 2 rows of single crochet around. The first row is worked in the loops left behind by R8 of the stem and a bit of the work of R8. I highly recommend referencing the video here, starting at about 11:40!
Once you’ve worked two rows, fasten off by slip stitching to the next stitch and cutting your yarn. Weave the tail end in.
Polka Dots
Starting at minute marker 15:49!
Thread your tapestry needle with the white left on the stem, and sew through each remaining stitch to close the bottom of the mushroom. Next, weave the tail up towards the cap of the mushroom.
Make each polka dot by tying a French Knot where you’d like the polka dot to be. Once finished, weave in the tail!
Complete!
That wraps up this tutorial. I hope you liked making your very own mushroom!
I would so, so, so appreciate a like and follow on YouTube, or a subscription to my blog – I plan to continue sharing these video tutorials!
Please feel free to share this pattern with friends by pinning this post on Pinterest, sharing on Facebook, or sending the link along!

Missy

