Hi all! I’ve got a tiny make for you today that whips up really quick – I have plans to use this little pumpkin amigurumi in a later pattern, too! If you want to throw together a small and cute Halloween decoration, or maybe hand these little guys out to friends as a small “Happy Fall” gift, these little pumpkins work up really quickly and are versatile with colors and facial expressions! It’s based off of one of my most popular patterns – I’m always shocked to see how many folks make my regular pumpkin each year. It uses the same stitching technique to make the distinct pumpkin shape. If you’d like to make the bigger version, check out this page on my blog!


Materials:
| 4.25mm crochet hook |
| worsted weight yarn in orange and green (you can also use whatever colors you’d like!) |
| tapestry needle |
| poly-fil stuffing |
| 6mm safety eyes |
| black embroidery thread |
Main Body
In orange (or whatever color you’re making your pumpkin in), ML 6.
R1: increase in each stitch (12)
R2: *sc, inc* around (18)
R3: *2sc, inc* around (24)
R4 – R8: sc around (5 rows total!)
R9: *2sc, dec* around (18)
R10: *1sc, dec* around (12)
Here’s where I add the eyes – we need to be a little careful about where we place them, as we’ll be sewing long straight stitches along the places that we’ve increased in the first few rounds. (See my other pumpkin pattern for more info!) We don’t want the eyes to be in the way of these stitches!
Places your eyes in-between rows 6 & 7 and about 4 stitches apart. I like to line up where they’re going by visualizing where the straight stitch will be and lining it up.


Once you’ve added the eyes, stuff the body here!
R11: decrease in each stitch (6)
Fasten off, leaving a long tail for sewing. And when I say long, I mean it! You’ll want about 30 inches of extra tail, as we’ll use this to add the pumpkin segments. Sew through each of the remaining 6 stitches and pull tight to close.
To add the segments, send the tail of the yarn straight up through the body of the pumpkin, then send a long straight stitch down where the increases and decreases fall. Sew straight back up through the body, rotate the pumpkin, and do the same thing. You’ll want 5 or six segments – I chose to only do five for this little pumpkin. Again, for a more detailed explanation of this process, see my earlier pumpkin post. I did a pretty good job laying it all out!
Stem
In green, chain 5.
R1: slp st down the chain
Fasten off, and leave a long tail for sewing! We’ll attach this last, so set aside for now.
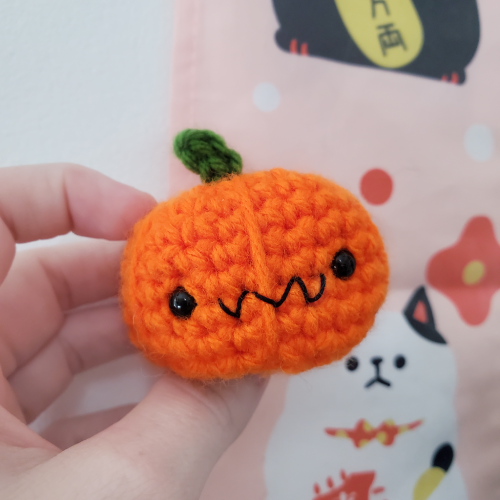
With black embroidery thread and tapestry needle, embroider the face on. You can make a zig-zag like I did, or choose any mouth shape you’d like!
Using the tail from the stem, attach it directly to the top of the pumpkin. Weave in all ends inside the pumpkin’s body.
Done! Like I said, I have plans with this little pumpkin, so stay tuned! I’d love to see your mini pumpkins, so share your pictures with me on Instagram!

-Missy

