Well, it’s fall, so it’s time for me to make some more spooky themed amigurumi patterns! I made this little bat pattern a few years ago but couldn’t figure out how to best make the wings in a way that I could consistently do, so scrapped it. I’ve finally come up with a way to make them fairly easily, so thought to share 🙂


Supplies:
| 5mm crochet hook |
| worsted weight yarn in light and dark purple (you can also use whatever colors you’d like!) |
| tapestry needle |
| poly-fil stuffing |
| 6mm safety eyes |
| hot glue gun |
| pink ribbon/bow |
| white and black embroidery thread |
| embroidery needle |
Abbreviations:
| ML | magic loop |
| R | row/round |
| st | stitch |
| slp st | slip stitch |
| ch | chain |
| sc | single crochet |
| hdc | half double crochet |
| dc | double crochet |
| tr | treble crochet |
| FLOsc | front loop only single crochet |
| FLOscdec | front loop only single crochet decrease |
| BLOsc | back loop only single crochet |
| BLOscdec | back loop only single crochet decrease |
| inc | increase |
| dec | decrease |
| dc | double crochet |
| * * | repeat |
| ( ) | number of sts in row |
Body
in main color (I chose light purple), ML
Row 1: 6sc in ML (6)
Row 2: increase in each st around (12)
Row 3: *sc, inc* around (18)
Row 4: *2sc, inc* around (24)
Row 5-8: sc around (4 rows total)
Row 9: *2sc, dec* around (18)
Row 10: *sc, dec* around (12)
Row 11: decrease in each st around (6)
Now it’s time to add the face! Place the safety eyes in between rows 6 & 7 (exactly halfway between the first two and second two rows of sc) about 5 stitches apart. Stuff head – but not too firmly!
Using the black embroidery thread, add two “swoops” for the mouth, then sew three straight stitches across the top to form the nose. Using the white embroidery thread, give your bat two tiny straight stitch “teeth” towards the bottom of each “swoop” of his mouth:
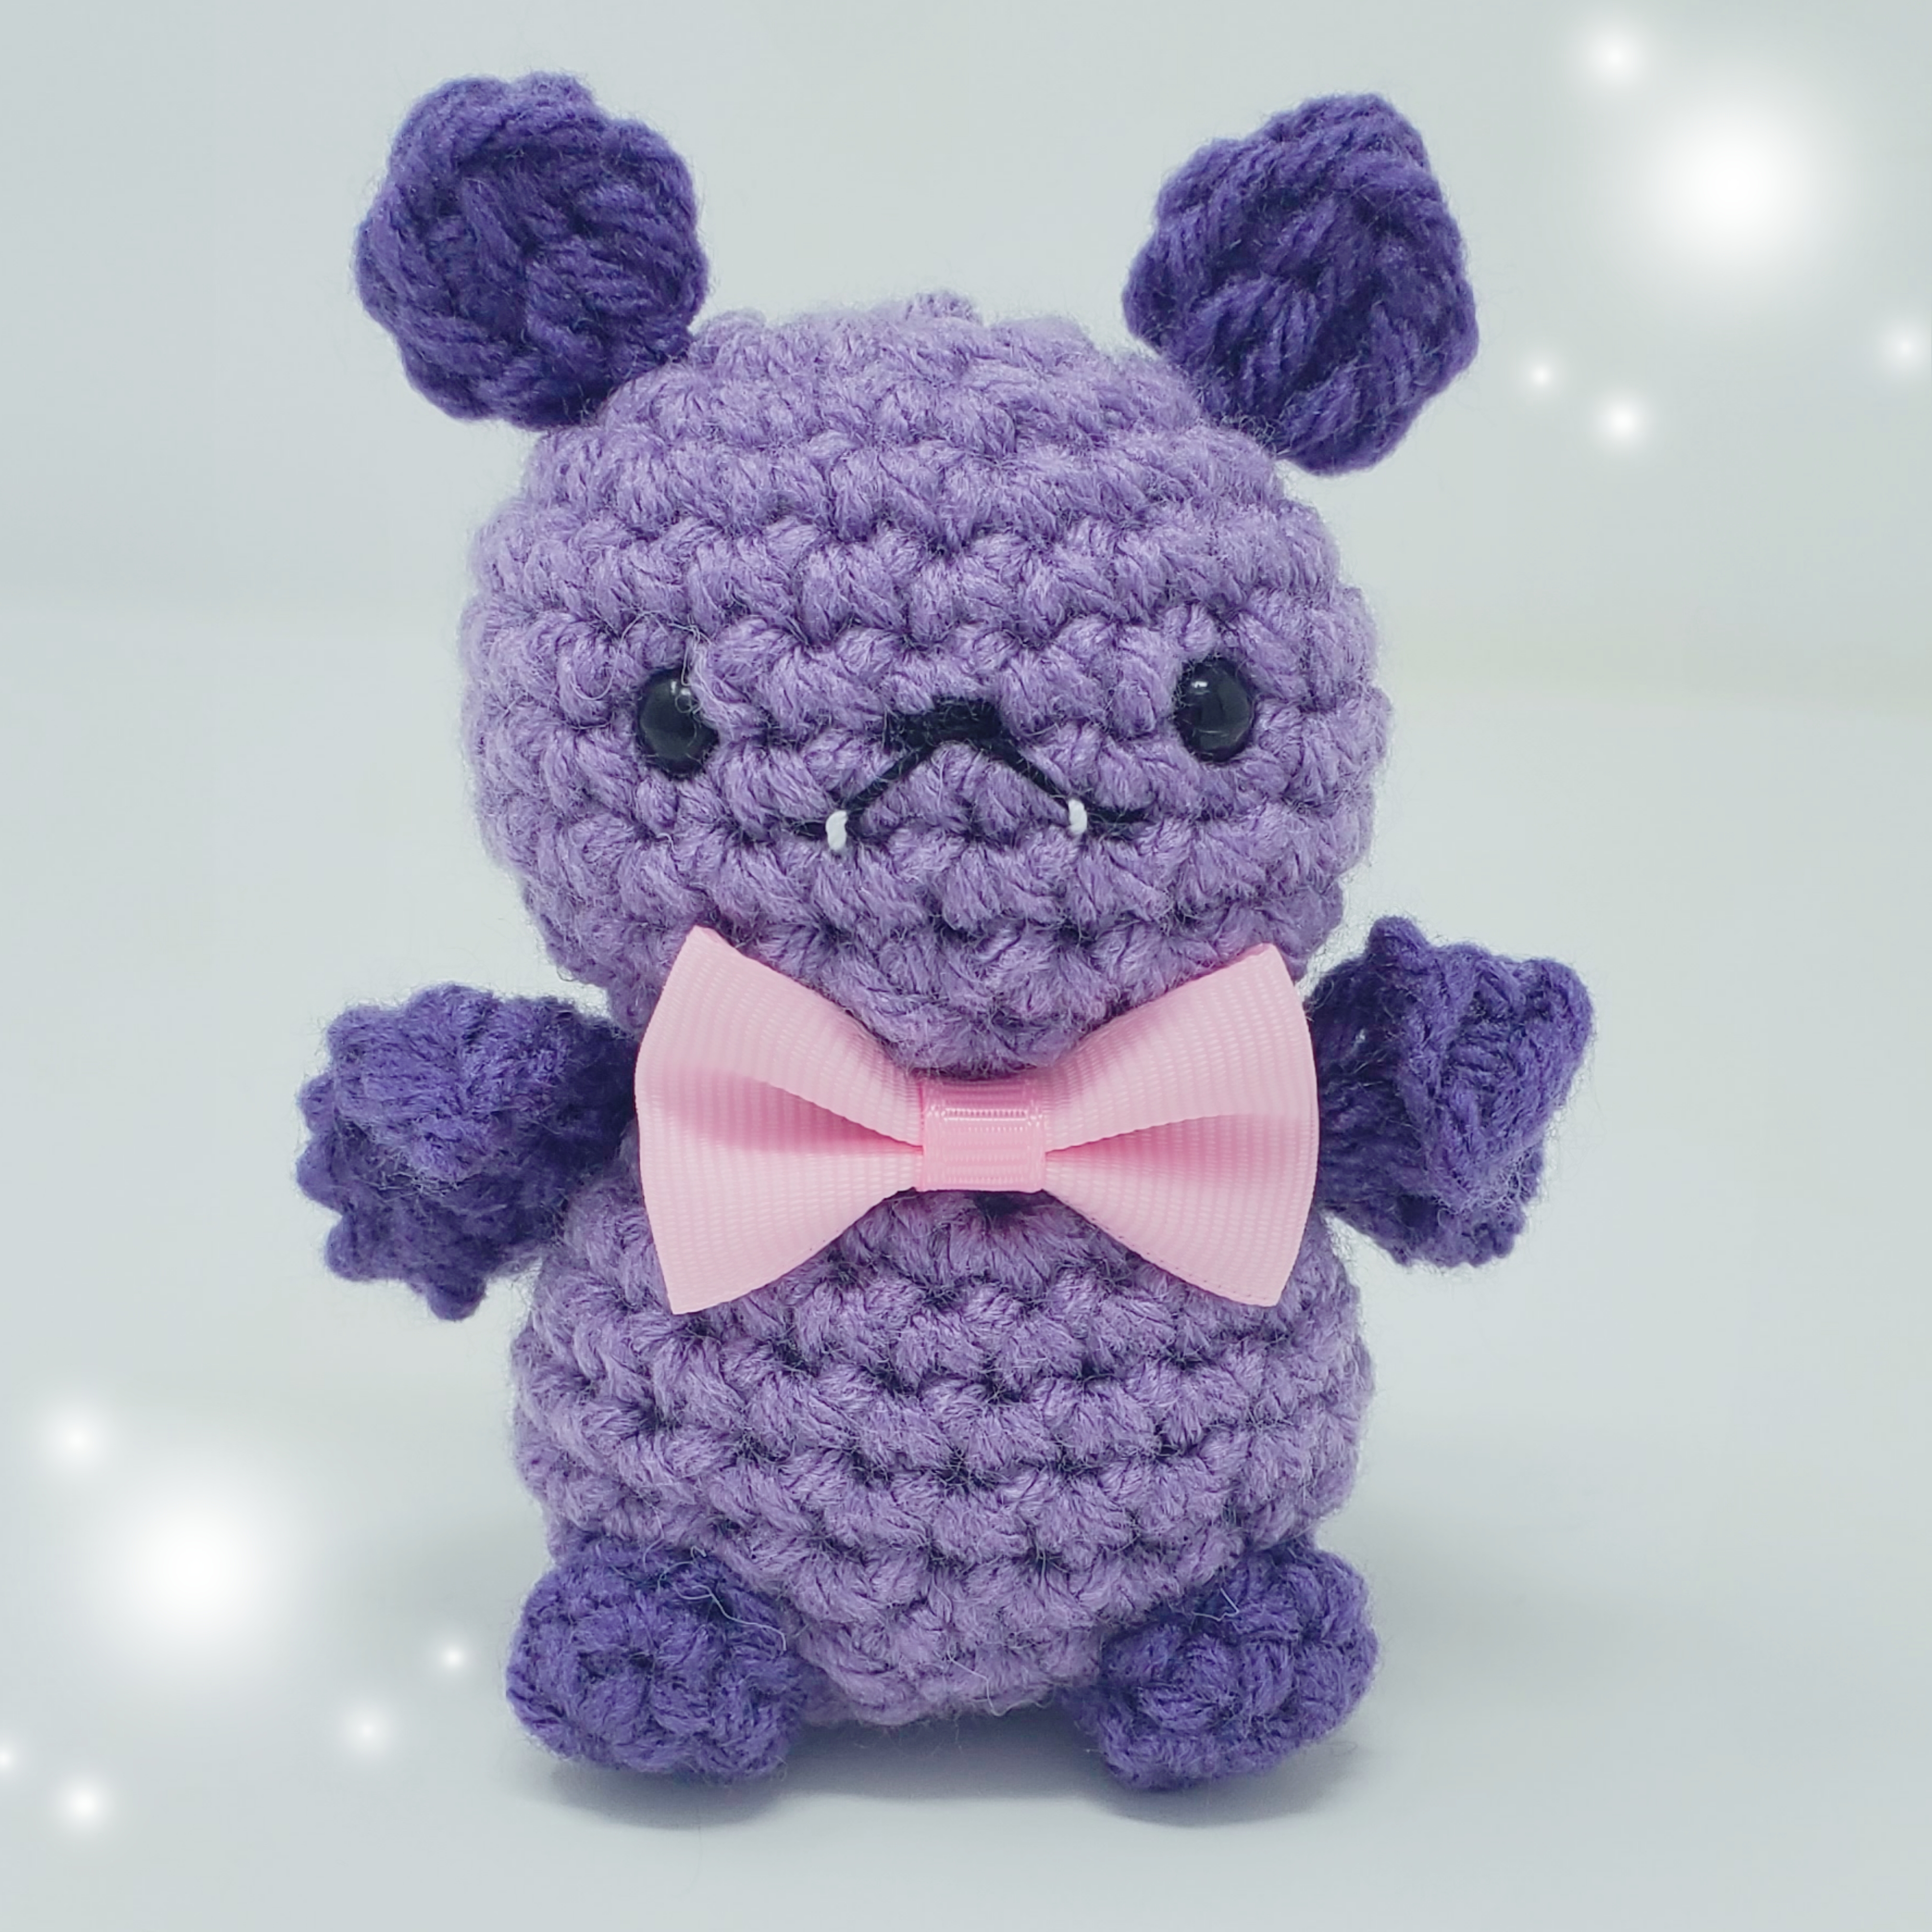
You can, of course, sew his face however you would like!
Row 12: 3FLOsc in each st around (18)
Row 13: *2sc, inc* around (24)
Row 14-17: sc around (4 rows total)
Row 18: *2sc, dec* around (18)
Row 19: *sc, dec* around (12)
Row 20: decrease in each st around (6)
Stuff rest of body here!
Fasten off, sewing through each remaining stitch with the tail. Pull tight to cinch closed, tie a knot, but don’t weave in the tail. We’ll need it to tack down the wings!
Now’s a good time to add the bow tie. I have some cute pre-tied bows that I bought online – I hot glued mine on. You can use a little bit of ribbon or string to tie a bow on your bat if you want.
Wings:
in secondary color (I chose dark purple) chain 14 sts + 1 to turn.
Row 1: sc in first two stitches, 2dc & 1tr in next st, ch1, 1tr & 2dc in next st, hdc, slp st in next 3 st, hdc, 2dc & 1tr in next st, ch1, 1tr & 2dc in next st, then sc in remaining 3 sts.
The wings get sewn on dead center on your bat’s back. I tuck them up flat against the bat’s neck, like this:

Now we’ll use the left over yarn from the body to tack the wings down to the body. Weave the tail up through the body to the side where you’ll tack the wing:

Once you’ve finished one side, sew the tail yarn through the body to the other side and repeat on the other wing.
Ears (make 2!):
in secondary color (I chose dark purple) ML
Row 1: 6sc in ML (6)
To finish off, slp st to the first sc, then work 1 slp st through the center of the ring of the ML and the st directly above your hook on the other side of the ear. Then, cut your yarn and leave a tail for sewing!


These two stitches help hold the ear open and hide the hole created with magic loop. I know, I know, the whole point of using magic loop is that it doesn’t make a hole – but it always seems no matter how tightly you pull the tail, it still is ever so slightly open. I really recommend doing this step, it makes a ton of difference! 🙂
Use the tail end from the ear to attach them to the top of the head in line with the eyes.
Feet (make 2!):
in secondary color (I chose dark purple), ML
Row 1: 6sc in ML (6)
Row 2: sc in each st (6)
Slp st to close. Cut yarn leaving long tail, then use tail to attach feet to front and bottom of the body.


Complete! One thing I like about the wings on this bad boy is that they’re posable- you can fold the fronts forward to look like paws, or open them up so it looks like your bat’s about to take flight!
I would love to see your bats – tag me @pixeledpeach on Instagram so I can look at your wonderful creations.
If you need some help, feel free to drop a comment below and I’ll see if I can’t lend a hand!
Please feel free to sell any made items from this pattern, so long as you give me credit and link back to my blog! Also, please share by linking to my blog – I really appreciate it!
As always:

-Missy

