Hi again! Ready to finish the Kit-tea (again, not sorry for the pun!) project? If you’re just now joining, make sure you go back and start with post #1!
Let’s make the cat now!
With the color you want to make the cat (I’m working in cream), ch 2.
6sc in the first ch.
Row 1: Increase in each stitch, for 12 stitches total.
Row 2: sc in each of the 12 stitches.
Row 3: *sc, increase* for a total of 18 stitches.
Row 4: sc in each of the 18 stitches
Row 5: *sc in the next two stitches, increase* for a total of 24 stitches.
Row 6: *sc in the next three stitches, increase* for a total of 30 stitches.
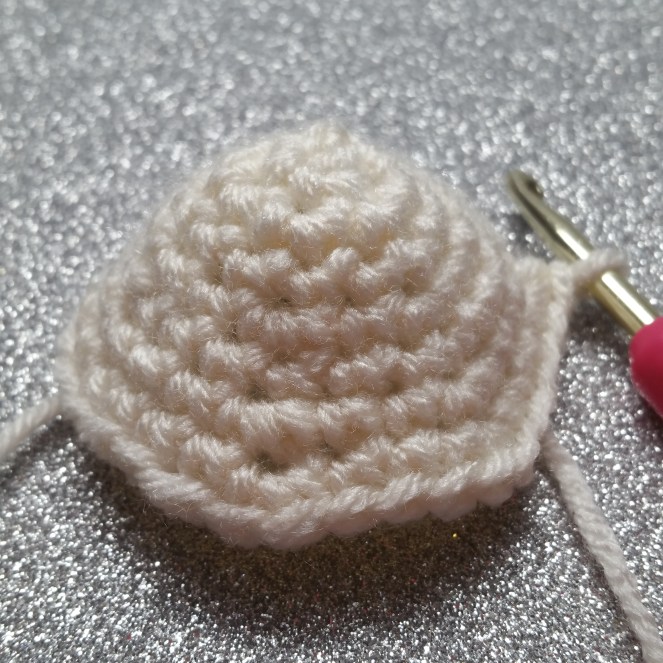
This is what the cat should look like so far:
Row 7-9 (three rows): sc around.
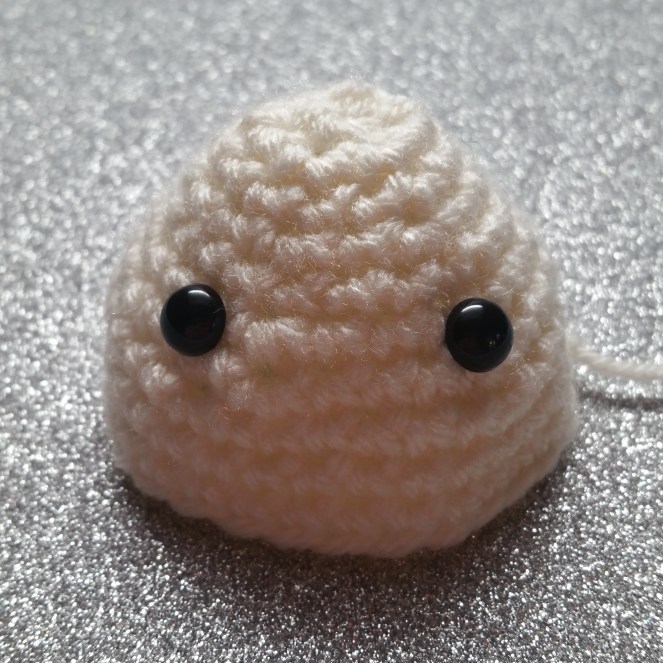
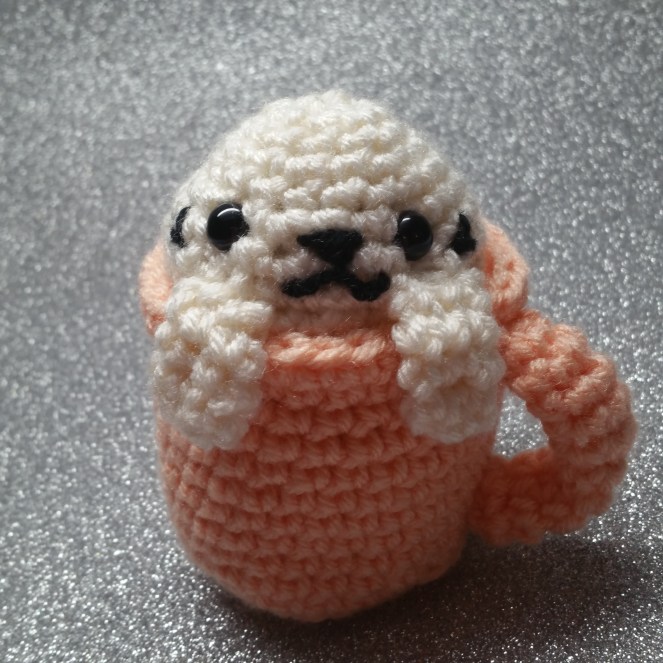
Ok, slip stitch to the next stitch, and cut the tail and weave it in. Time for the face! First, put the eyes on in between the 5th & 6th rows, like this:
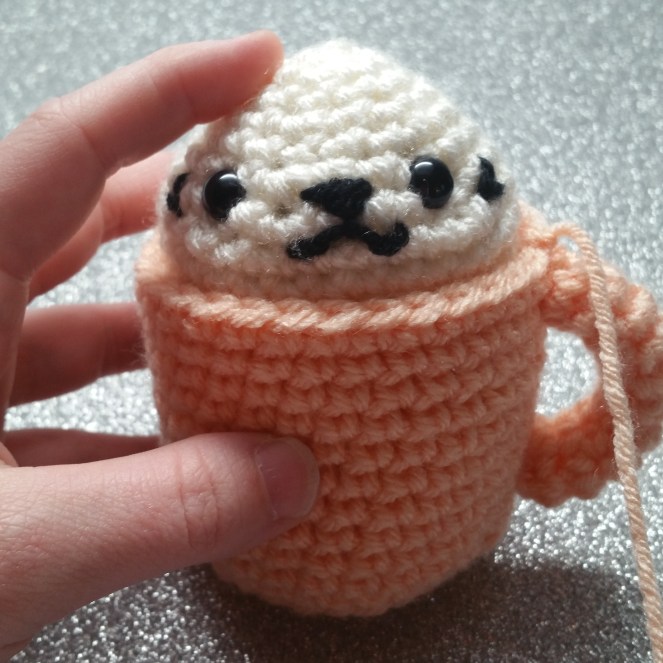
Next, thread your tapestry needle and use some black yarn or embroidery floss to add the facial features! I make the nose a little triangle, and then run the yarn in a straight line underneath. I tack the middle of the yarn up to the nose, and loosen the yarn on either side of the stitch to make the “w” shape:


Next, add the whiskers. They’re little “v’s” on the outsides of the eyes:


Ok, time to stuff and attach! Put stuffing inside of the mug we made, and then firmly stuff the cat head too. Push the head down into the mug so that the bottom of the mouth is just above the lip of the cup.
Next, thread your tapestry needle with the tail end from the mug. Fold the rim of the mug down so you can see the bottom of the cat’s head, and sew around, like this:


Sew all the way around, tie a knot, and weave the tail in. Fold the rim of the cup back up.
Next, make the paws.
ch. 6
sc in each stitch
Keep sc around in a tube until each paw measures an inch in length. Slip stitch to the next stitch, and cut a long tail for sewing. Next, flatten each paw and attach it to the cat, being sure to sew through both layers. Once it’s attached to the cat, tack it down to the front of the mug with a few stitches. Tie a knot and weave in the tail end for each paw once it’s sewn on.
Last, let’s make the ears.
ch 2
6sc in first ch stitch
Row 1: sc around
Row 2: *sc, increase* for a total of 9 stitches.
Slip stitch to the next stitch, and cut the yarn, leaving a tail for sewing.
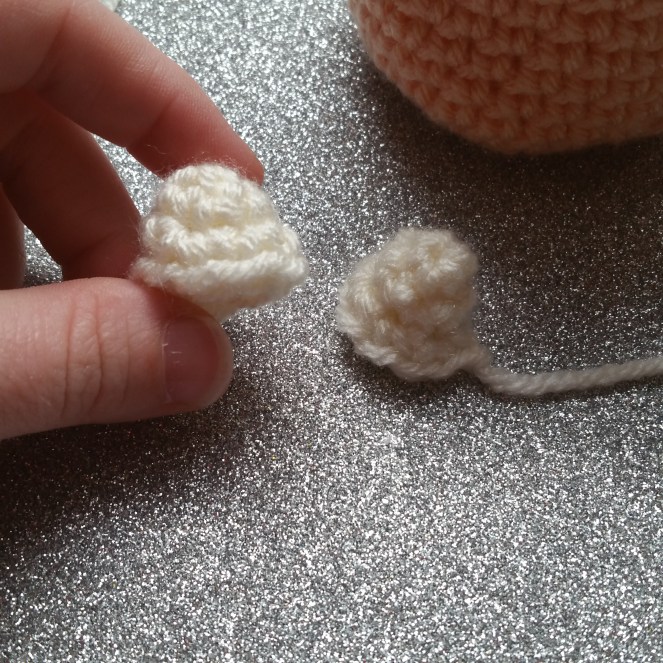
Now, sew the ears on to the top of the head!
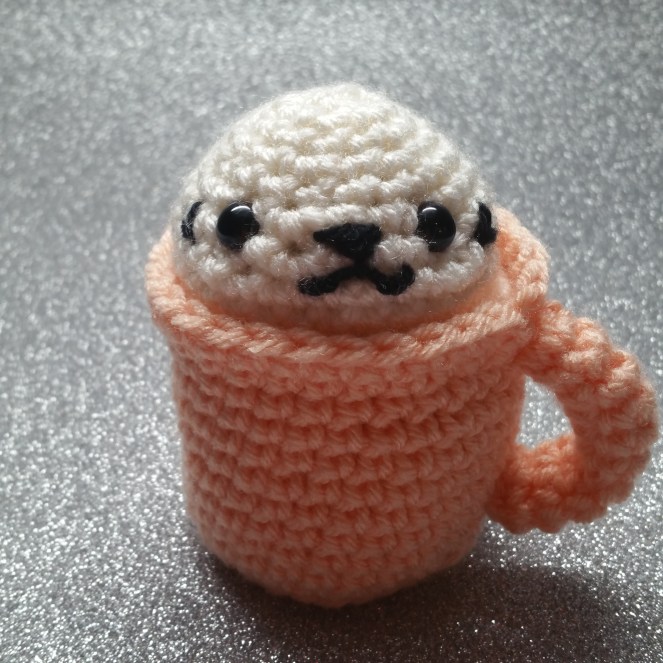
All done!


I hope you enjoyed this crochet-along! I had a ton of fun designing and making this little guy! Let me know how it went in the comments, or snap a pic and tag me in it on Instagram!


This is super cute, and I am definitely going to try to make it too. I will try and post pictures when I get it done.
LikeLiked by 1 person
I would love to see them! Glad you like it ❤
LikeLiked by 1 person