I’ve seen people host crochet-alongs (CAL) and I wanted to try my hand at it! I don’t want it to be a week-long thing, because I don’t want it to be a huge crochet project; I decided to make this a weekend project, starting with today!
We’ll be making this cute little “kit-tea” cat (sorry, not sorry about the pun) – make one for a friend, or for yourself!

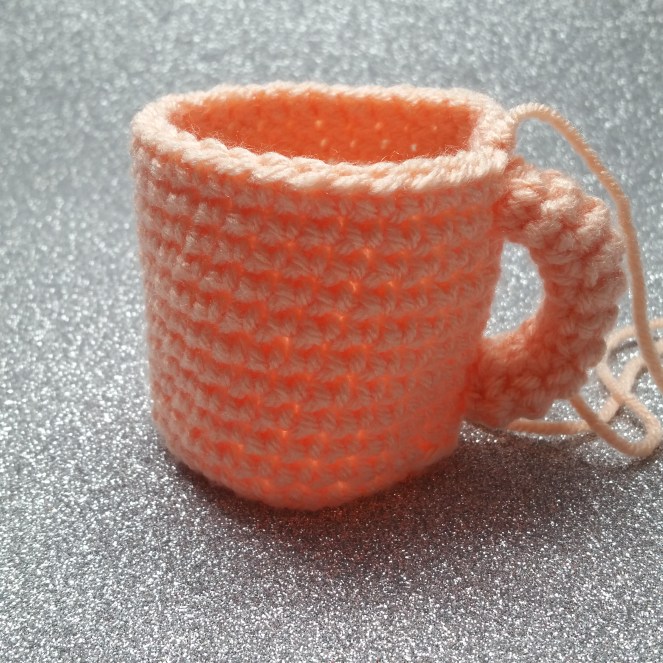
This post will be how to make the mug! Let’s start with our materials. You’ll need:
- 5mm crochet hook
- 9mm safety eyes
- polyfil stuffing
- tapestry needled
- worsted weight yarn in two colors (I used Hobby Lobby’s I Love This Yarn! in Light Peach and Cream)
- black yarn, thread, or embroidery floss (for face)
- scissors
- stitch marker
Start with your hook and the color you want the mug to be in (I’m working in Light Peach!)
ch 2
Put 6 sc in the first ch, like this:


Increase (put two sc in one stitch) in each of the 6 stitches all the way around, for a total of 12:

This is where I start using a stitch marker. Anything will do – even a bobby pin! Sc in the next stitch, and place your marker in it. This is the first stitch of the next round – so you’ll work the pattern until you reach the marker, which shows the end of the row.

(Each of the next rows repeat the same pattern of stitches, which are marked with “**” – repeat what’s in between the “**”)
Row 3: *sc, increase* until you reach the marker, for a total of 18 stitches.
Row 4: *sc in the next 2 stitches, increase* until you reach the marker, for a total of 24 stitches.
Row 5: *sc in the next 3 stitches, increase* until you reach the marker, for a total of 30 stitches.
For the next row, we’ll be working in the “back loop”:


You insert your hook through just the back loop of each stitch, and single crochet as normal all the way around. It’ll make a little ridge on the surface of your work (the front loops that you didn’t work through) and makes the bottom of the mug stay flat. Here’s what that looks like:

For the next round (and all subsequent rounds), single crochet in each stitch. Work around and around until the mug measures 2.5 inches in height.

Then bind off, cutting a long tail – you’ll need it later!
Now for the handle! It’s easy:
ch 2
6sc in the first ch
continue sc around and around, making a tube!

Bind off and leave a long tail when your tube measures 2.5 inches long. Next, we need to cinch the open end. Thread your tapestry needle with the tube’s tail, and sew through each of the 6 sts. Pull tight, and cinch the opening closed.


Now, attach the handle to the side of the mug!
All right, that’s all for today! Next post we’ll add the cat and finish it up!
Let me know how it’s going in the comments, I’d love to hear from you!


Agh! This is tooo cute! Love it! ❤ 😉
https://busybeeblogweb.wordpress.com
LikeLike