Hi hi everyone – after a much needed refresh of the blog, I wanted to share a few new patterns with you!
I’m not sure how many folks follow my YouTube channel, but I’ve slowly started to shift most of my new (and free!) content over there in the form of video tutorials. I find I can show what to do much better than I can write what to do.
So here’s the first of several video recap posts to sort of catch my blog up to where I’m at in the video process. I also wanted to include my pattern notes here, in case you’re more of a written pattern person and less a video tutorial person. However, I highly recommend checking out the video, as these are rudimentary notes that I explain much better in the video itself.
I also really recommend watching the tutorial for the face and whiskers, as it’s much easier to show!
Pattern
Materials
Materials:
✩ 4mm crochet hook (or whatever size needed, based on what weight yarn you are using!)
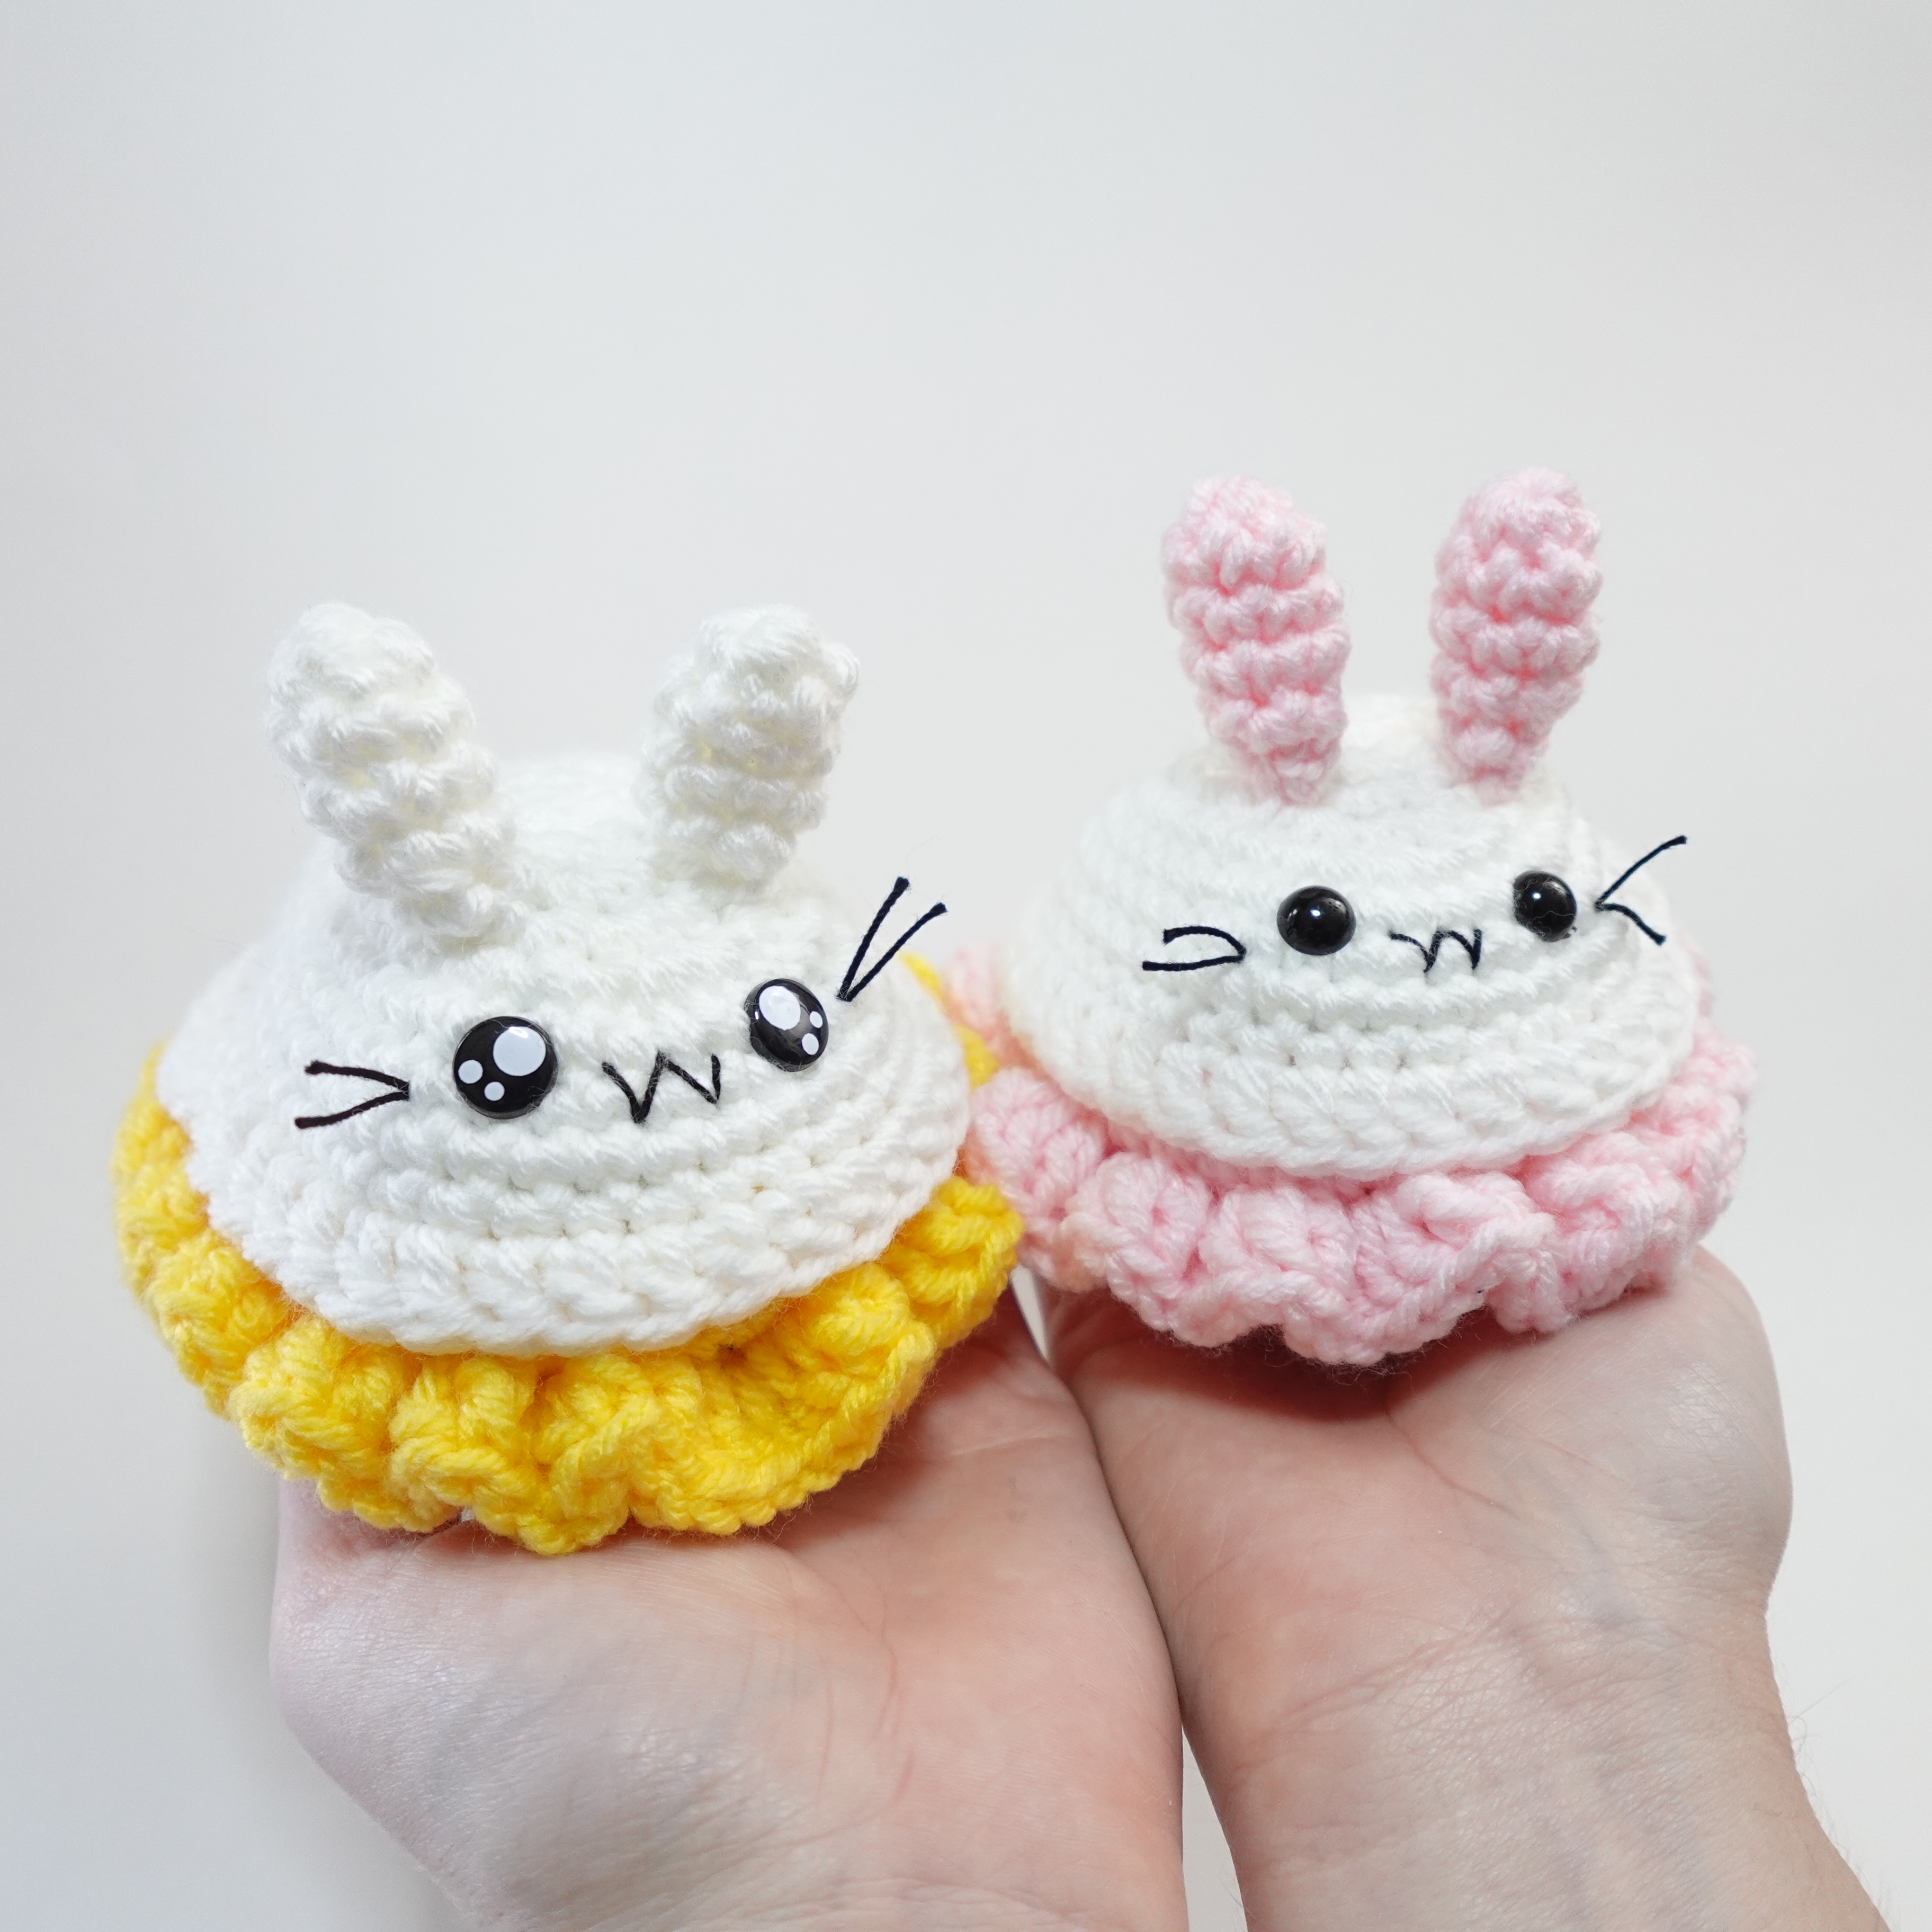
✩ worsted weight yarn in white and light pink (or whatever color/weight you want!)
✩ one pair of 9mm safety eyes
✩ stitch marker
✩ stuffing
✩ tapestry needle
✩ black embroidery floss
✩ embroidery needle
✩ hot glue gun
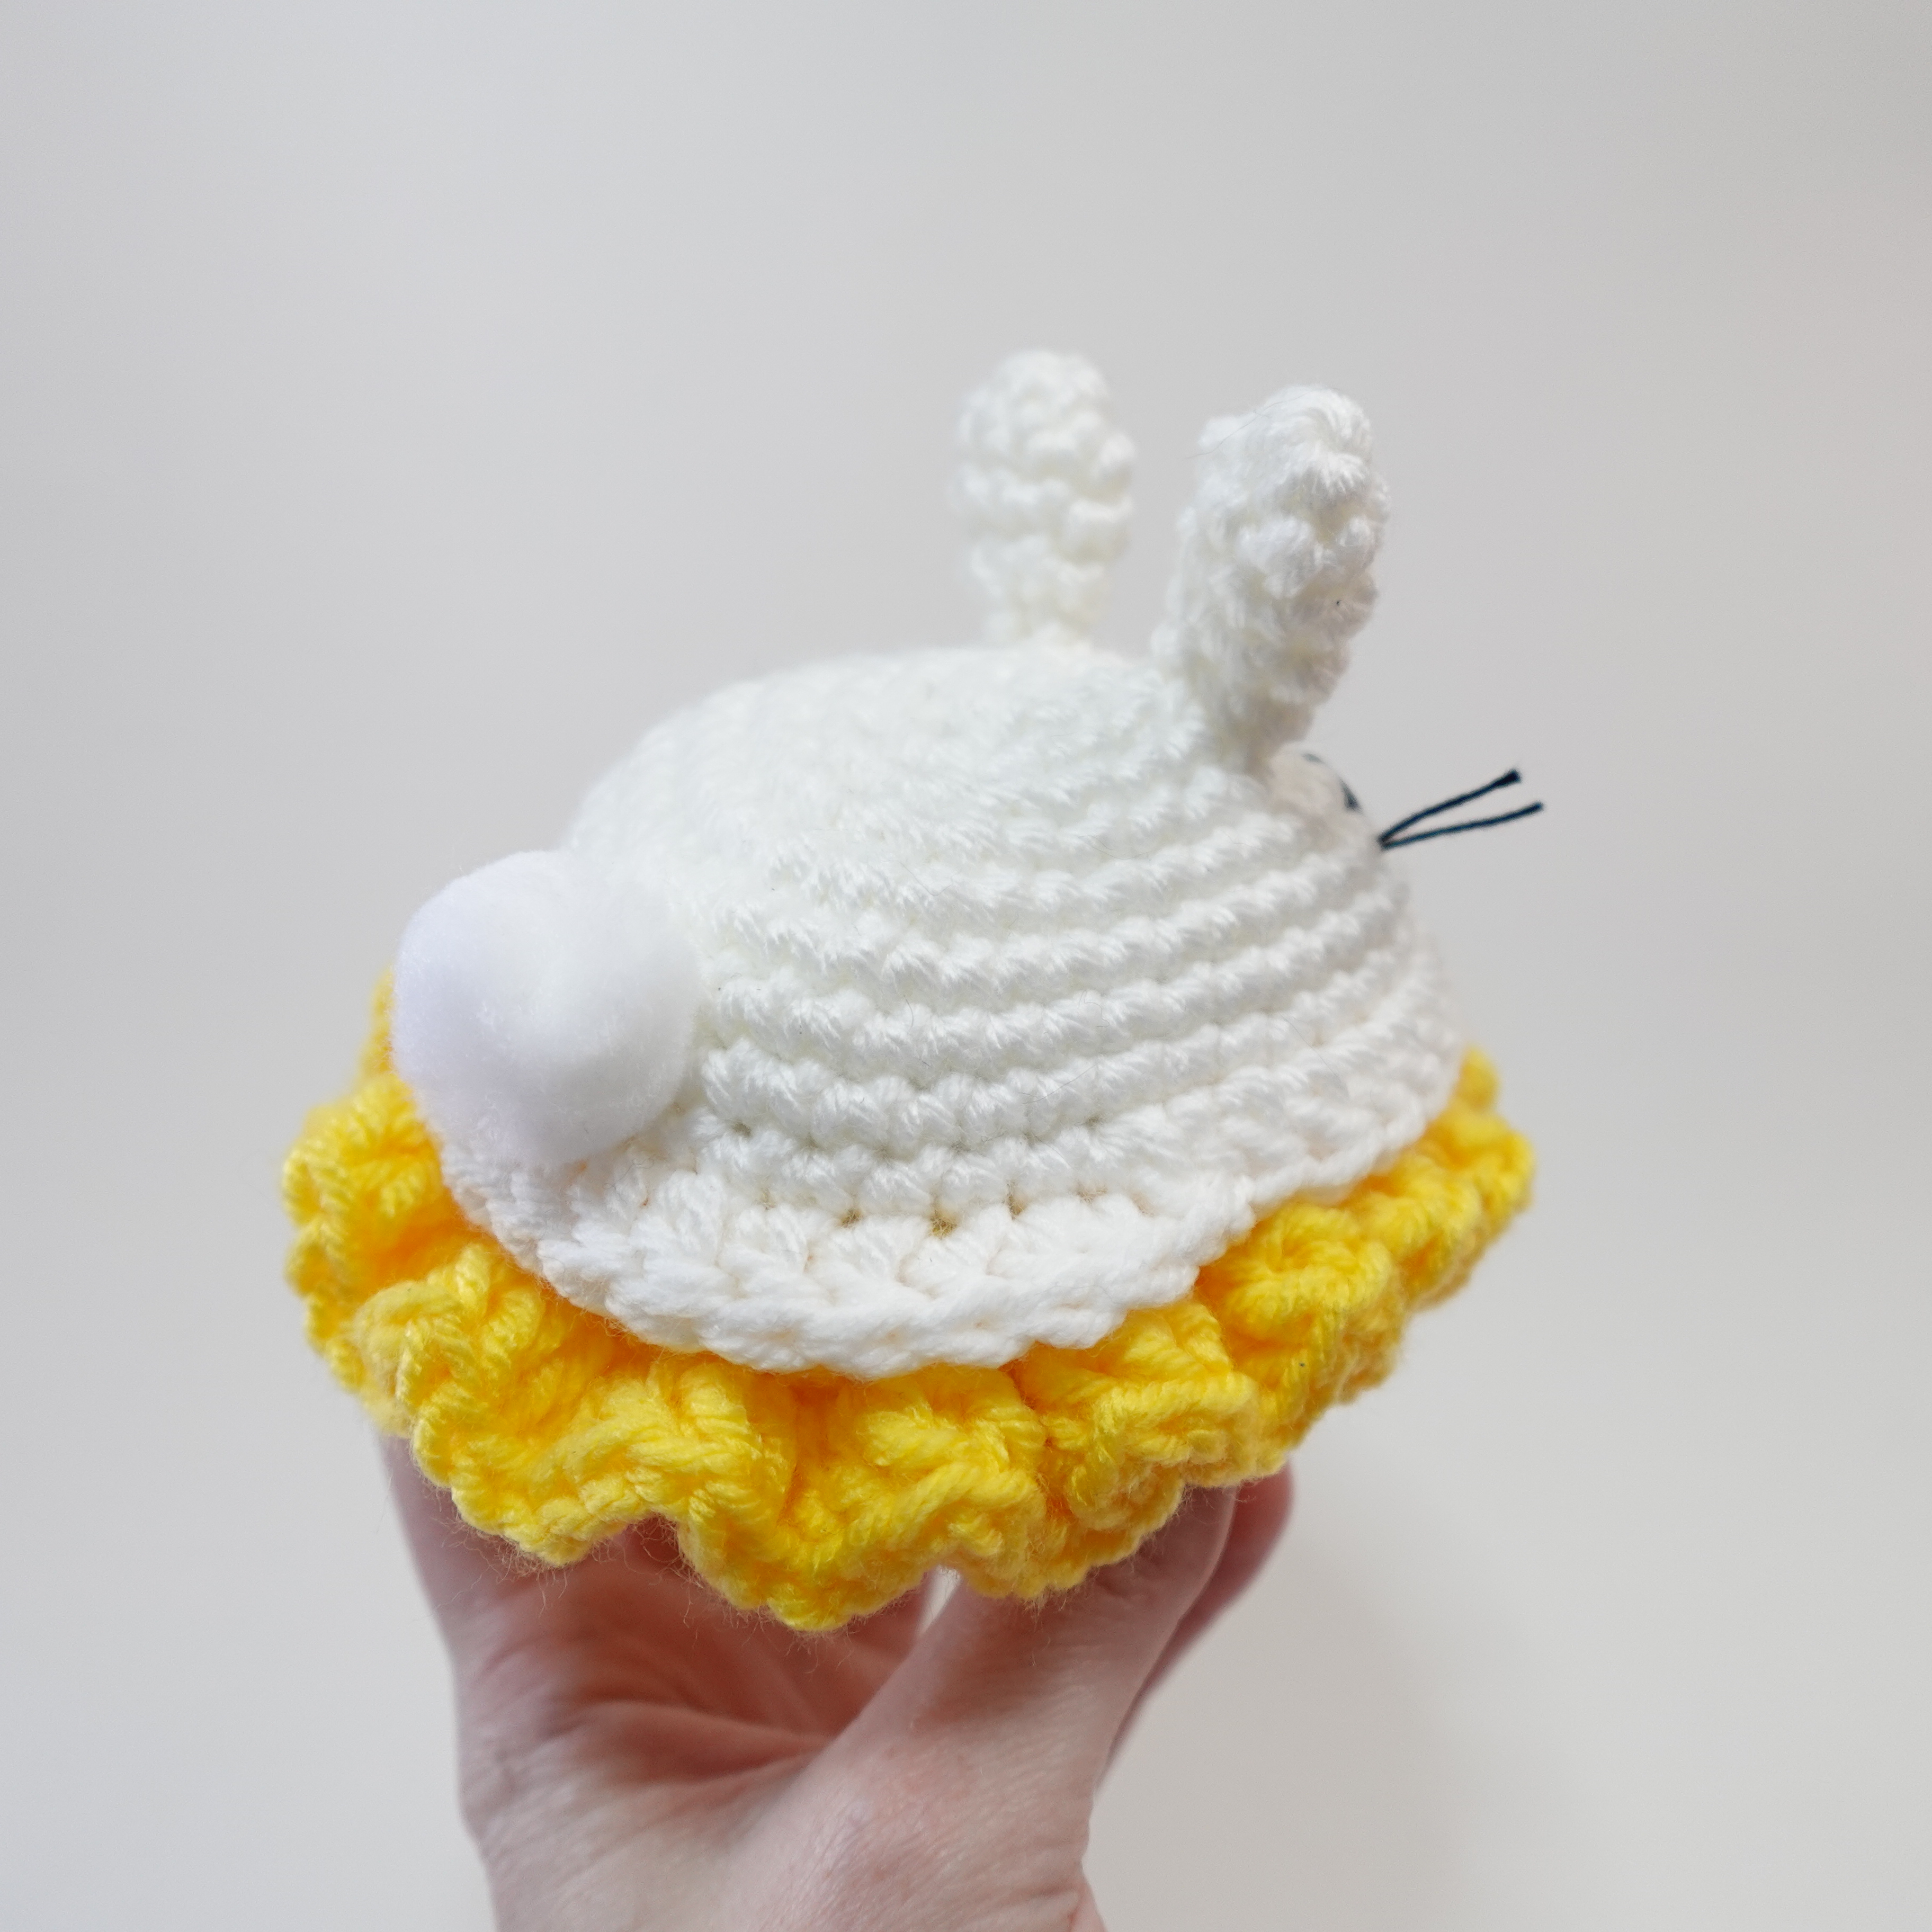
✩ white pom-pom/ puffball for the tail!
Body
In white, form ML
R1: ML6
R2: inc in each st
R3: 3sc, 3inc, 3sc, 3inc
R4: 4sc, 4inc, 4sc, 6inc
R5: 6sc, 7inc, 9sc, 5inc, 1sc in last st
R6-R9: sc around (4 rnds total)
Switch to secondary color, leaving first color attached and at the front of your work (check out the tutorial here!)
R10: BLO sc around
R11-R12: sc around (2 rnds total)
R13: *6BLOsc, BLOdec* around
Add eyes and face here! Again, video is super helpful.
R14: *5sc, dec* around
R15: *4sc, dec* around
R16: *3sc, dec* around
R17: *2sc, dec* around
R18: *sc, dec* around
Stuff.
R19: dec in each st
Fasten off and weave in tail.
Add whiskers here. Video is really helpful on this step!
Upper Skirt
For the upper skirt, using the still attached white yarn, chain 3 sts, which counts as your first dc. Continue placing one dc in each FLO left behind from R10 until you’re all the way around – slip st to the top of the ch 3 and fasten off. Weave in any tail.
Lower Skirt
Fasten on with your secondary color to the FLO left behind from R13. Ch 3, then add 2 more dc to the same space your ch 3 is coming out of. Continue placing 3 dc sts in each FLO around. Once you’re all the way around, slp st to the top of the 1st ch 3. Weave in any tail.
Ears (make 2)
Using secondary color, form ML
R1: 6sc in ML
R2-R5: sc in each st around (4 rounds total)
Attach each to bunny’s head with tails left over from fastening off.
Tail
Using hot glue to attach a puff ball to the back of the bunny’s body.


Okay, I hope this write up was helpful for any written pattern lovers out there!
(ꈍᴗꈍ)♡ Happy crafting, friend! ♡(ꈍᴗꈍ)
-Missy

