Another botanical, planty tutorial? Why yes, that’s precisely what I had in mind! I can’t help it, I just really really love plants a ton, so naturally my creative work would reflect that. 😍
This one is sort of a cross between two different tutorials I’ve done in the past – one was my second to last post (how to crochet this really cute bee flower) and then one I posted last spring for these mini crochet flower pots on my YouTube Channel.
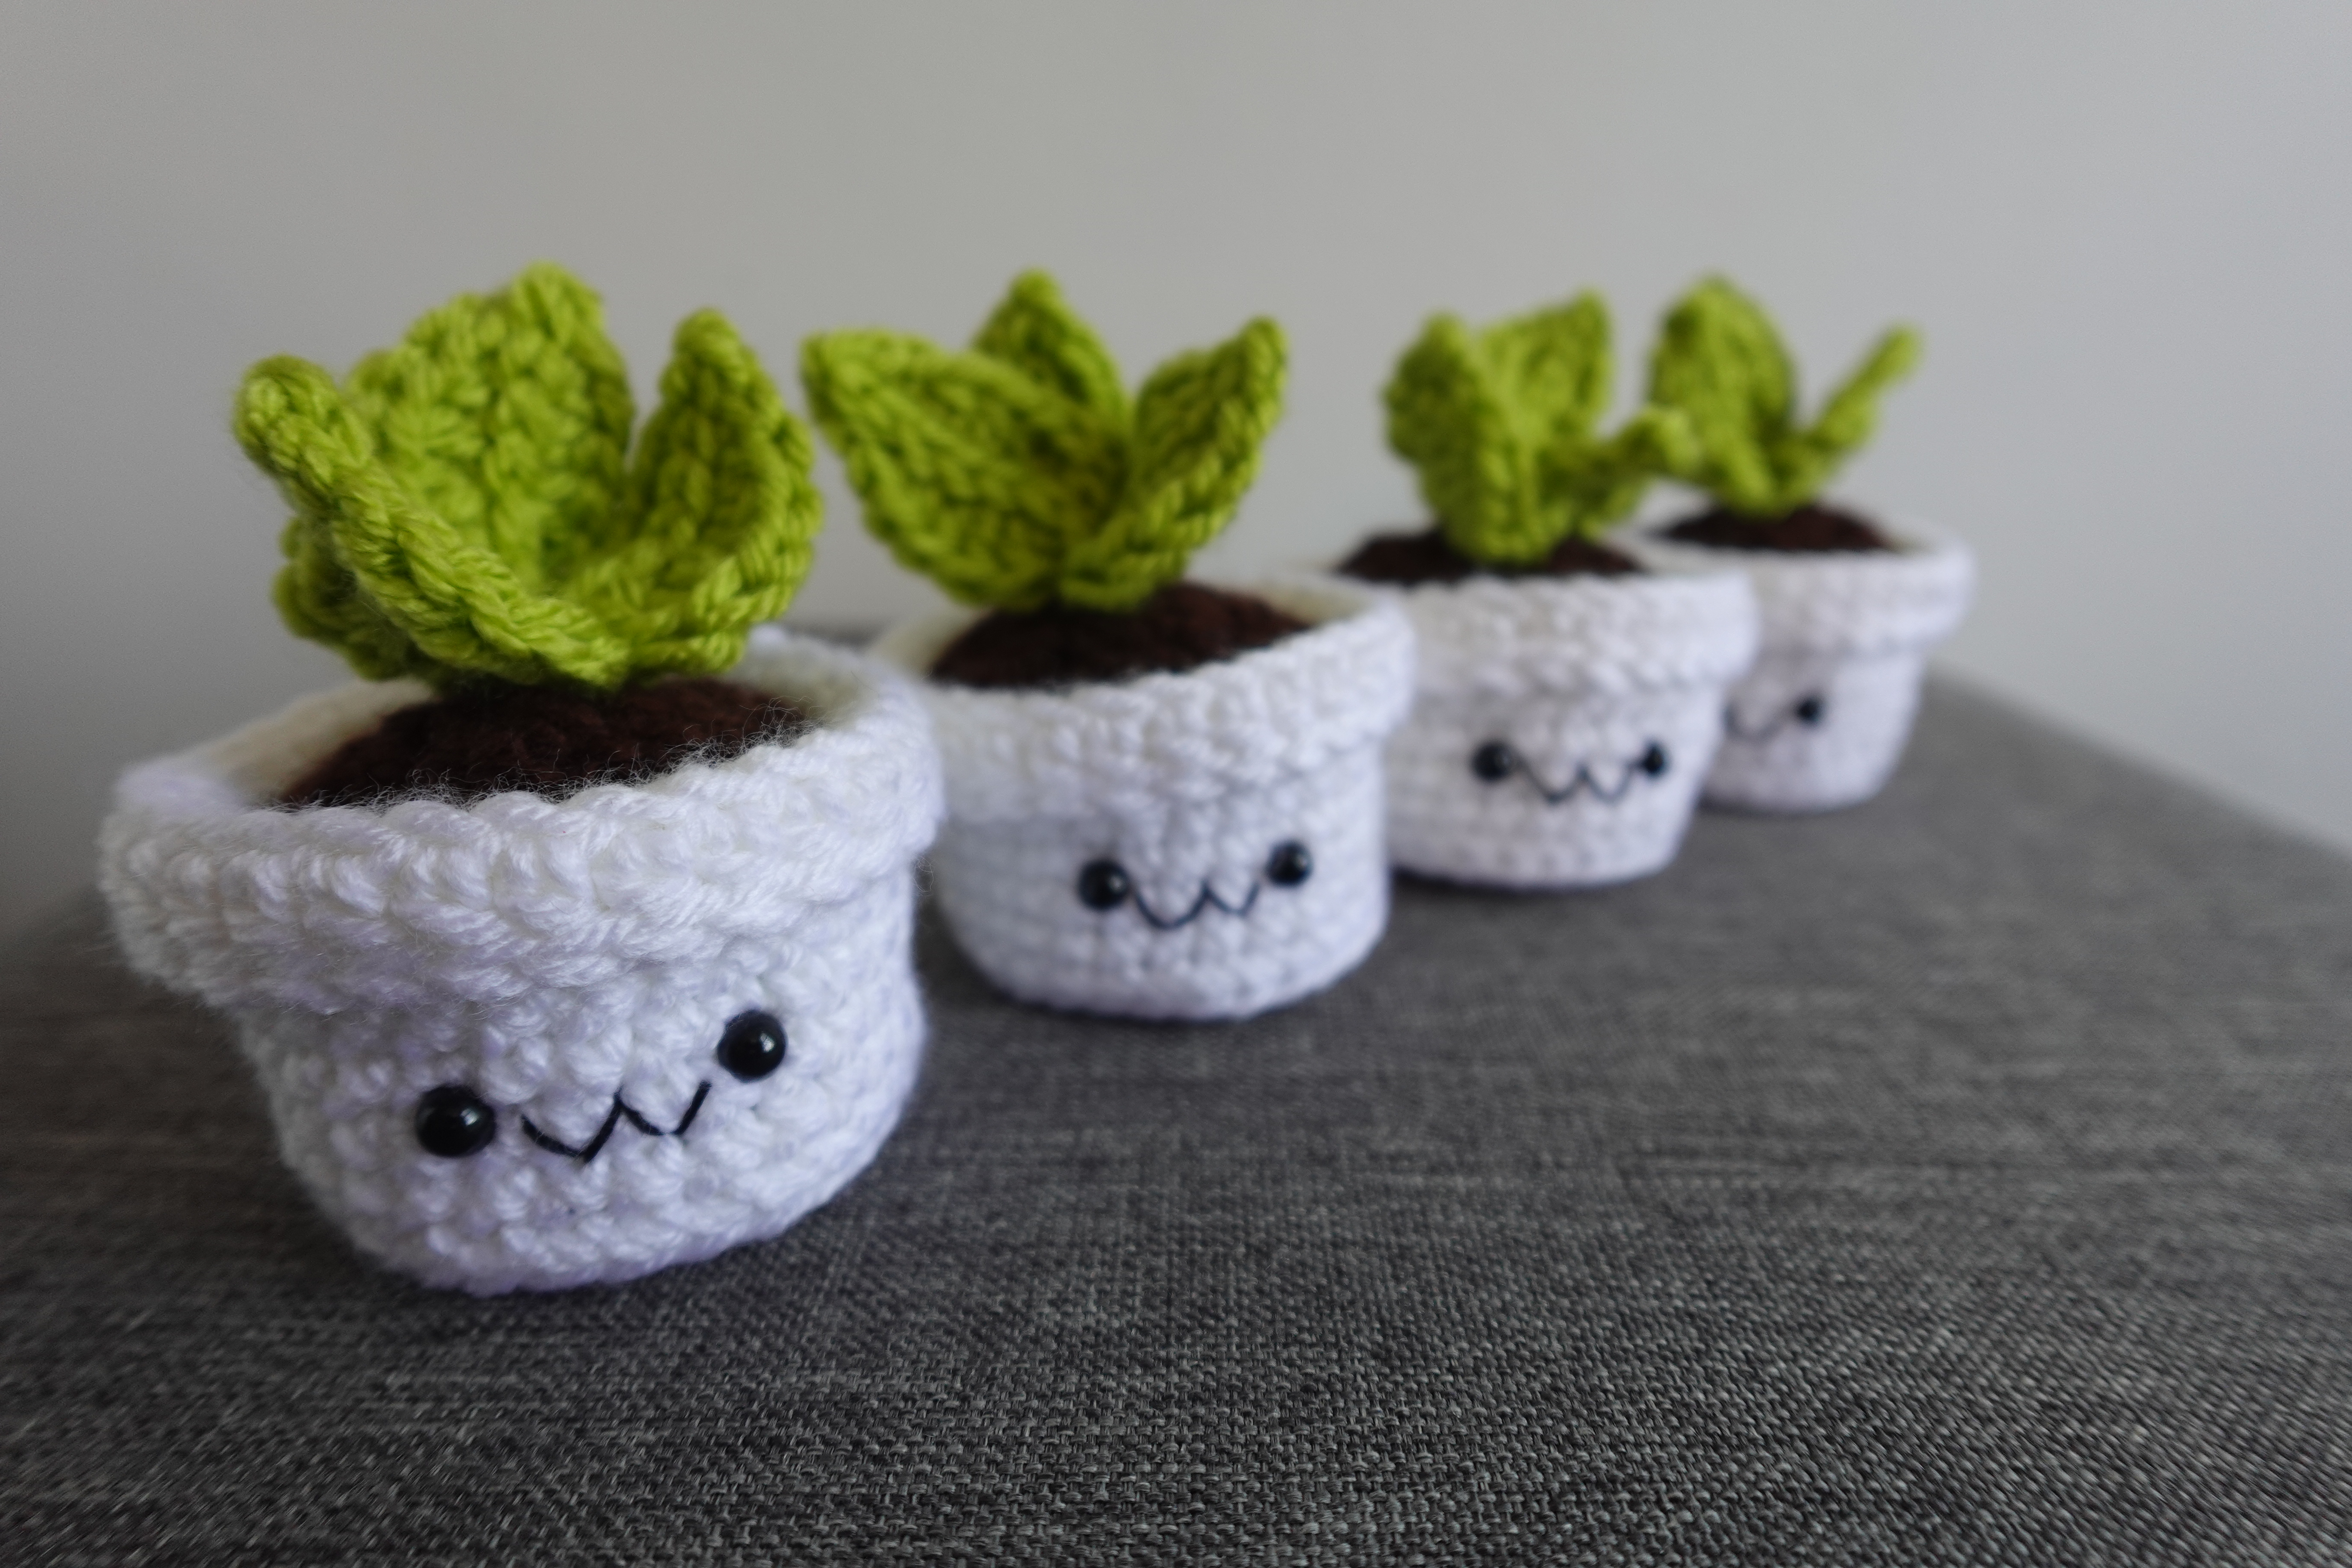
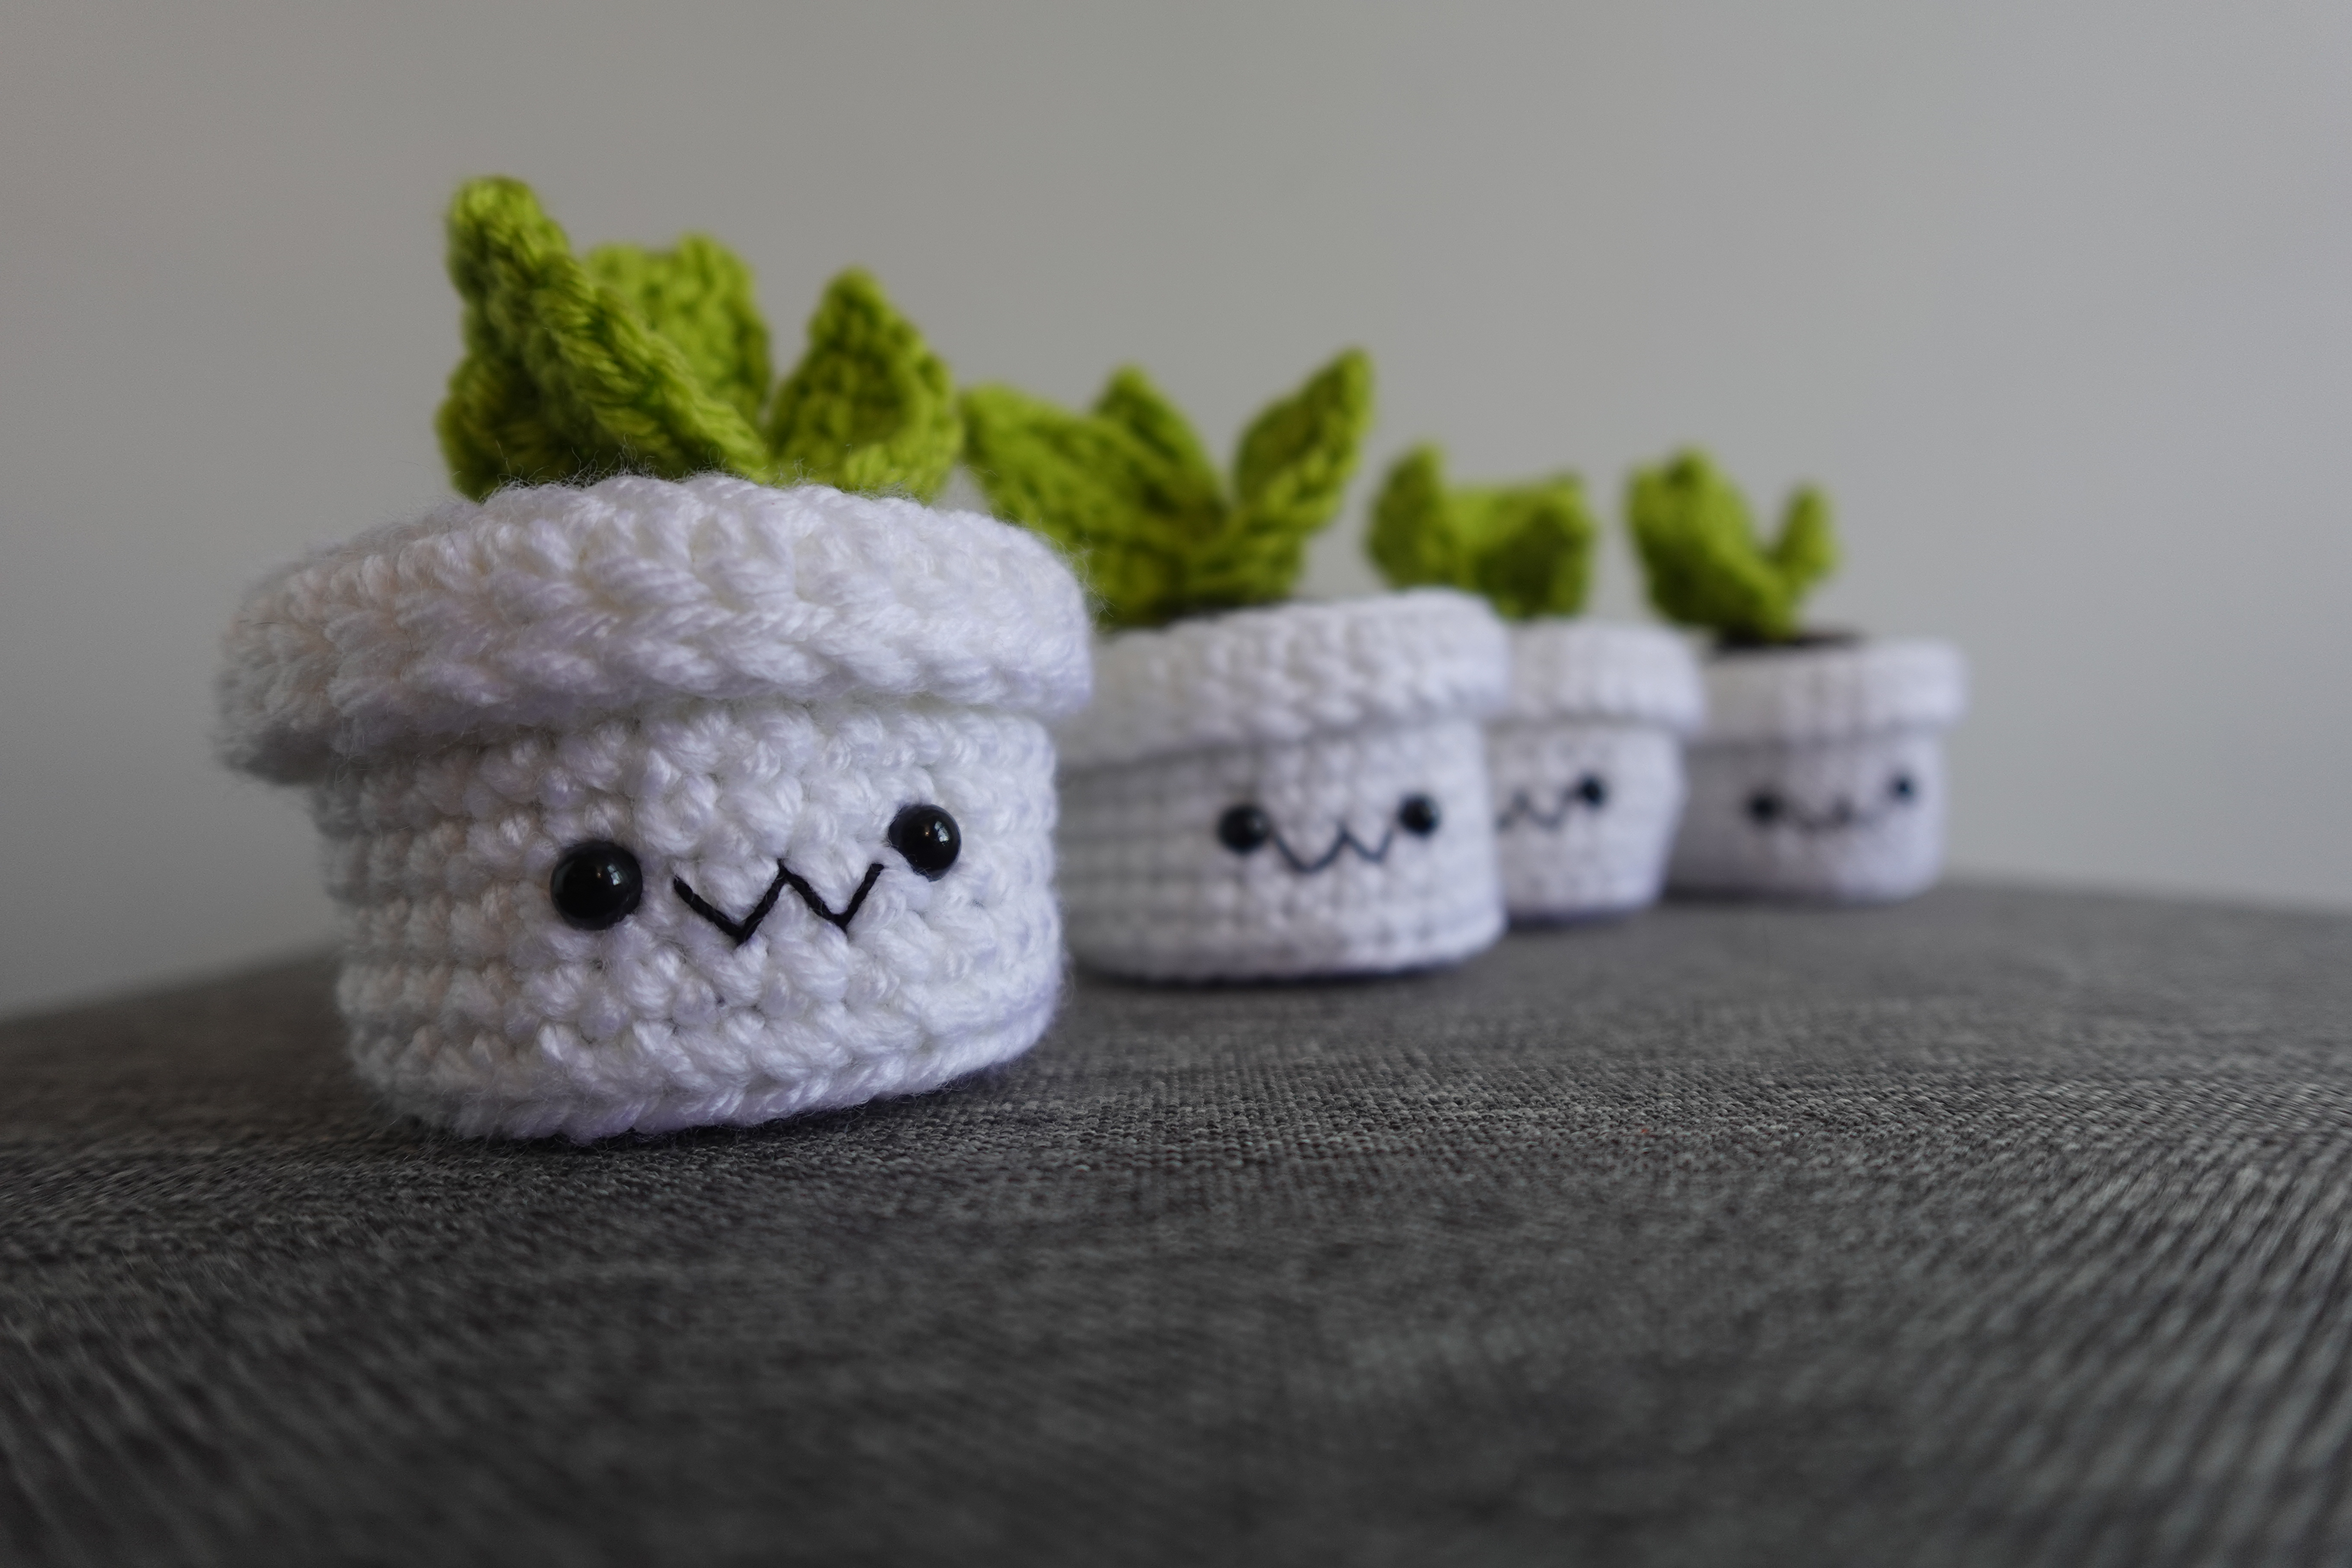
I liked the detailing on the bee flower pot, but it is a larger project, and I feel like folks don’t like the bigger ones as much as the smaller, easier-to-tackle-in-a-day projects. So I combined the smaller size and simplicity of the mini crochet flower pots, but scaled it up one degree on sizing so I didn’t have to sacrifice a ton of details. It’s hard to get things detailed when they’re so tiny!
YouTube Pattern Video
Below you’ll find the pattern video. I use YouTube’s “Chapters” feature to sort each individual instruction (rounds, sewing, sections, etc.) into a time stamped section. You should be able to see the chapters in the timeline/seek bar of the video below, but if you click over to YouTube, you’ll be able to pull the chapters up and move more easily between them.
As always, with the pattern write-up here on my blog, the written instructions are “bare bones” – they’re designed to work hand-in-hand with the video tutorial, so there aren’t a lot of images or descriptive language. If you’re having any issues, please refer to the video! I work hard to make them as clear as possible.
If the video still doesn’t answer your questions, drop me a comment here on the blog or over on the video on YouTube, and I’ll see if I can help you out. 👍
Concepts
I would grade this pattern as a beginner + pattern, because:
- it has a small amount of construction elements – highly recommend a little scrap of cardboard, but it’s not required!
- we’ll be doing a little bit of sewing (the leaves and the smile!)
- it has one place where you’ll need to fasten on
- we’ll be working down both sides of a chain, as well as turning
- it uses chain, slip, single, half double, and double crochet stitches
However, as with all of my tutorials, I’ll guide you through each step to the best of my ability! Don’t be afraid to give it a try, as I do a pretty good job going slow and helping you to master new concepts. 😍
Materials
- Worsted weight yarn in white, brown, and green, or your choice of weight and color – just remember to size hooks and accessories accordingly.
- 4mm crochet hook (or whatever size you need, based on the weight of yarn you choose)
- 6mm safety eyes
- black embroidery floss
- Your standard amigurumi items: tapestry/yarn needle(s), stitch marker, scissors, stuffing
- optional but highly recommended: a small scrap of cardboard, cut to size for the bottom of the pot!
Pattern Notes
All of my patterns are written with US terminology.
As with most amigurumi projects, your work will be formed by crocheting in a continuous spiral, with a stitch marker marking the beginning of each round. Any other construction style will be indicated in the pattern!
Abbreviations
These are my most commonly used abbreviations. Any special stitches or exceptions will be denoted in the pattern as they appear!
| rnd(s) | round(s) |
| sc | single crochet |
| MR | magic ring |
| ( ) | number of stitches at the end of each round |
| * * | repeat instructions, in the order they appear, the indicated amount of times |
| inc | increase (typically single crochet – otherwise denoted) |
| BLO | work in the back loop only |
| FLO | work in the front loop only |
| slp st | slip stitch |
| dc | double crochet |
| hdc | half double crochet |
| ch | chain |
| st(s) | stitch(es) |
| YO | yarn over |
Pattern
Pot
With pot color (white for me), form a MR.
Rnd 1: 6 sc in MR (6)
Rnd 2: *inc* x 6 (12)
Rnd 3: *1 sc, inc* x 6 (18)
Rnd 4: *2 sc, inc* x 6 (24)
Rnd 5: *3 sc, inc* x 6 (30)
If you’re using cardboard in the bottom of your pot to keep it flat, trace the shape out now. Set aside – we’ll add it before we make the soil.
Rnd 6: in BLO, 1 sc around
Rnds 7-11: 1 sc in each st around [5 rnds total!]
Rnd 12: in FLO, 1 sc in each st around
Rnd 13: 1 sc in each st around
At the end of Rnd 13, slp st to the first st of the rnd to close. Then, ch 3, and turn work so the opening of the pot is facing down. We’ll be working in the FLO of the stitches of Rnd 13, starting with the last sc st we made!
Rnd 14: 1 hdc in each FLO around, slp st to top of ch 3 to close
Rnd 15: 1 slp st in each st around
Slp st to the first slp st to close, then cut a long tail.
Add safety eyes to pot here, in between Rnds 8 and 9, approximately 2-3 sts apart.
Soil
If using cardboard, insert piece into the bottom of the pot here. Then, in soil color (I’m using brown), fasten on to any of the BLO left behind inside the pot from Rnd 12. I like to roll the brim of the pot down to access these a little easier – roll until the loops are at the very top of your work so you can get at them.
Rnd 1: *3 sc, dec* x 6 (24)
Rnd 2: *2 sc, dec* x 6 (18)
Rnd 3: *1 sc, dec* x 6 (12)
Stuff the inside of the pot here!
Rnd 4: *dec* x 6 (6)
Fasten off by slp st to the next st, then cut a long tail to sew with. If needed, add a little more stuffing, then use this tail to sew through each of the FLOs from Rnd 4. Pull tight to cinch closed, then tie a knot to secure. Weave in any remaining tail.
Now’s a good time to add the face, too! Embroider a “W” shape, starting the very center of the “W” centered right between the eyes. Once sewn, tie a knot to secure and weave in any remaining tail.
Leaves
With leaf color (I’m using green), ch 6 sts.
To form each leaf, place 1 slp st in the 2nd ch from your hook, then 1 sc, 1 hdc, 1 hdc + 1 dc down the chain. In the last st (your slip knot!) place 3 dc sts, which will swing us around to the other side of the chain. Now, working back up the opposite side of the chain, place 1 dc + 1 hdc, 1 hdc, 1 sc, 1 slp st, then 1 sc in the 1st slp st on the opposite side of the leaf to close the top.
Work 1 slp st down the center of each ch st, and 1 final slp st in the bottom of the 2nd dc st at the bottom of the leaf. Ch 2 sts, then start in on the next leaf by ch 6 sts, and repeat.
We’ll work 3 leaves total, with a ch 2 in between the 1st and 2nd leaf and 2nd and 3rd leaf. Once you crochet the 3rd leaf, cut a long tail to sew with, then YO and draw through the last slp st (the one at the bottom of the 2nd dc on the leaf).
Use this tail to sew the leaves together in a cluster, then attach the cluster to the soil with the tail, sewing down through the cinched round in the very center of the pot. Once sewn, tie a knot to secure and weave in any remaining tail.
Complete!
As always, thanks for tuning in. If you haven’t already checked out my YouTube page, I’d be forever grateful if you’d consider subscribing or watching my other tutorial videos. I try to post twice a month with a new tutorial!
Normal, obligatory legal banter:
Please, if you’d like to share this pattern, link folks directly to this blog page, or to the video on YouTube. I work really hard on my patterns and post them for free – please don’t copy my stuff and sell it as your own pattern! You can make and sell items made from this pattern – and while I would love a mention on the listing or a link back to my blog, it’s not a requirement.
Have an Instagram and want to post your new make? Tag me (@pixeledpeach) so I can see and promote your page!

