This pattern has been one of my staples at my market tables since I started vending back in 2016 when I was still in college. I actually posted about it here on my blog (if you’d like to see the post, click here) and it reminds me that I should try and do a post-show follow up on here after each show. That way I can share what worked for me, what didn’t, and things I’d do differently after each event. 🤔
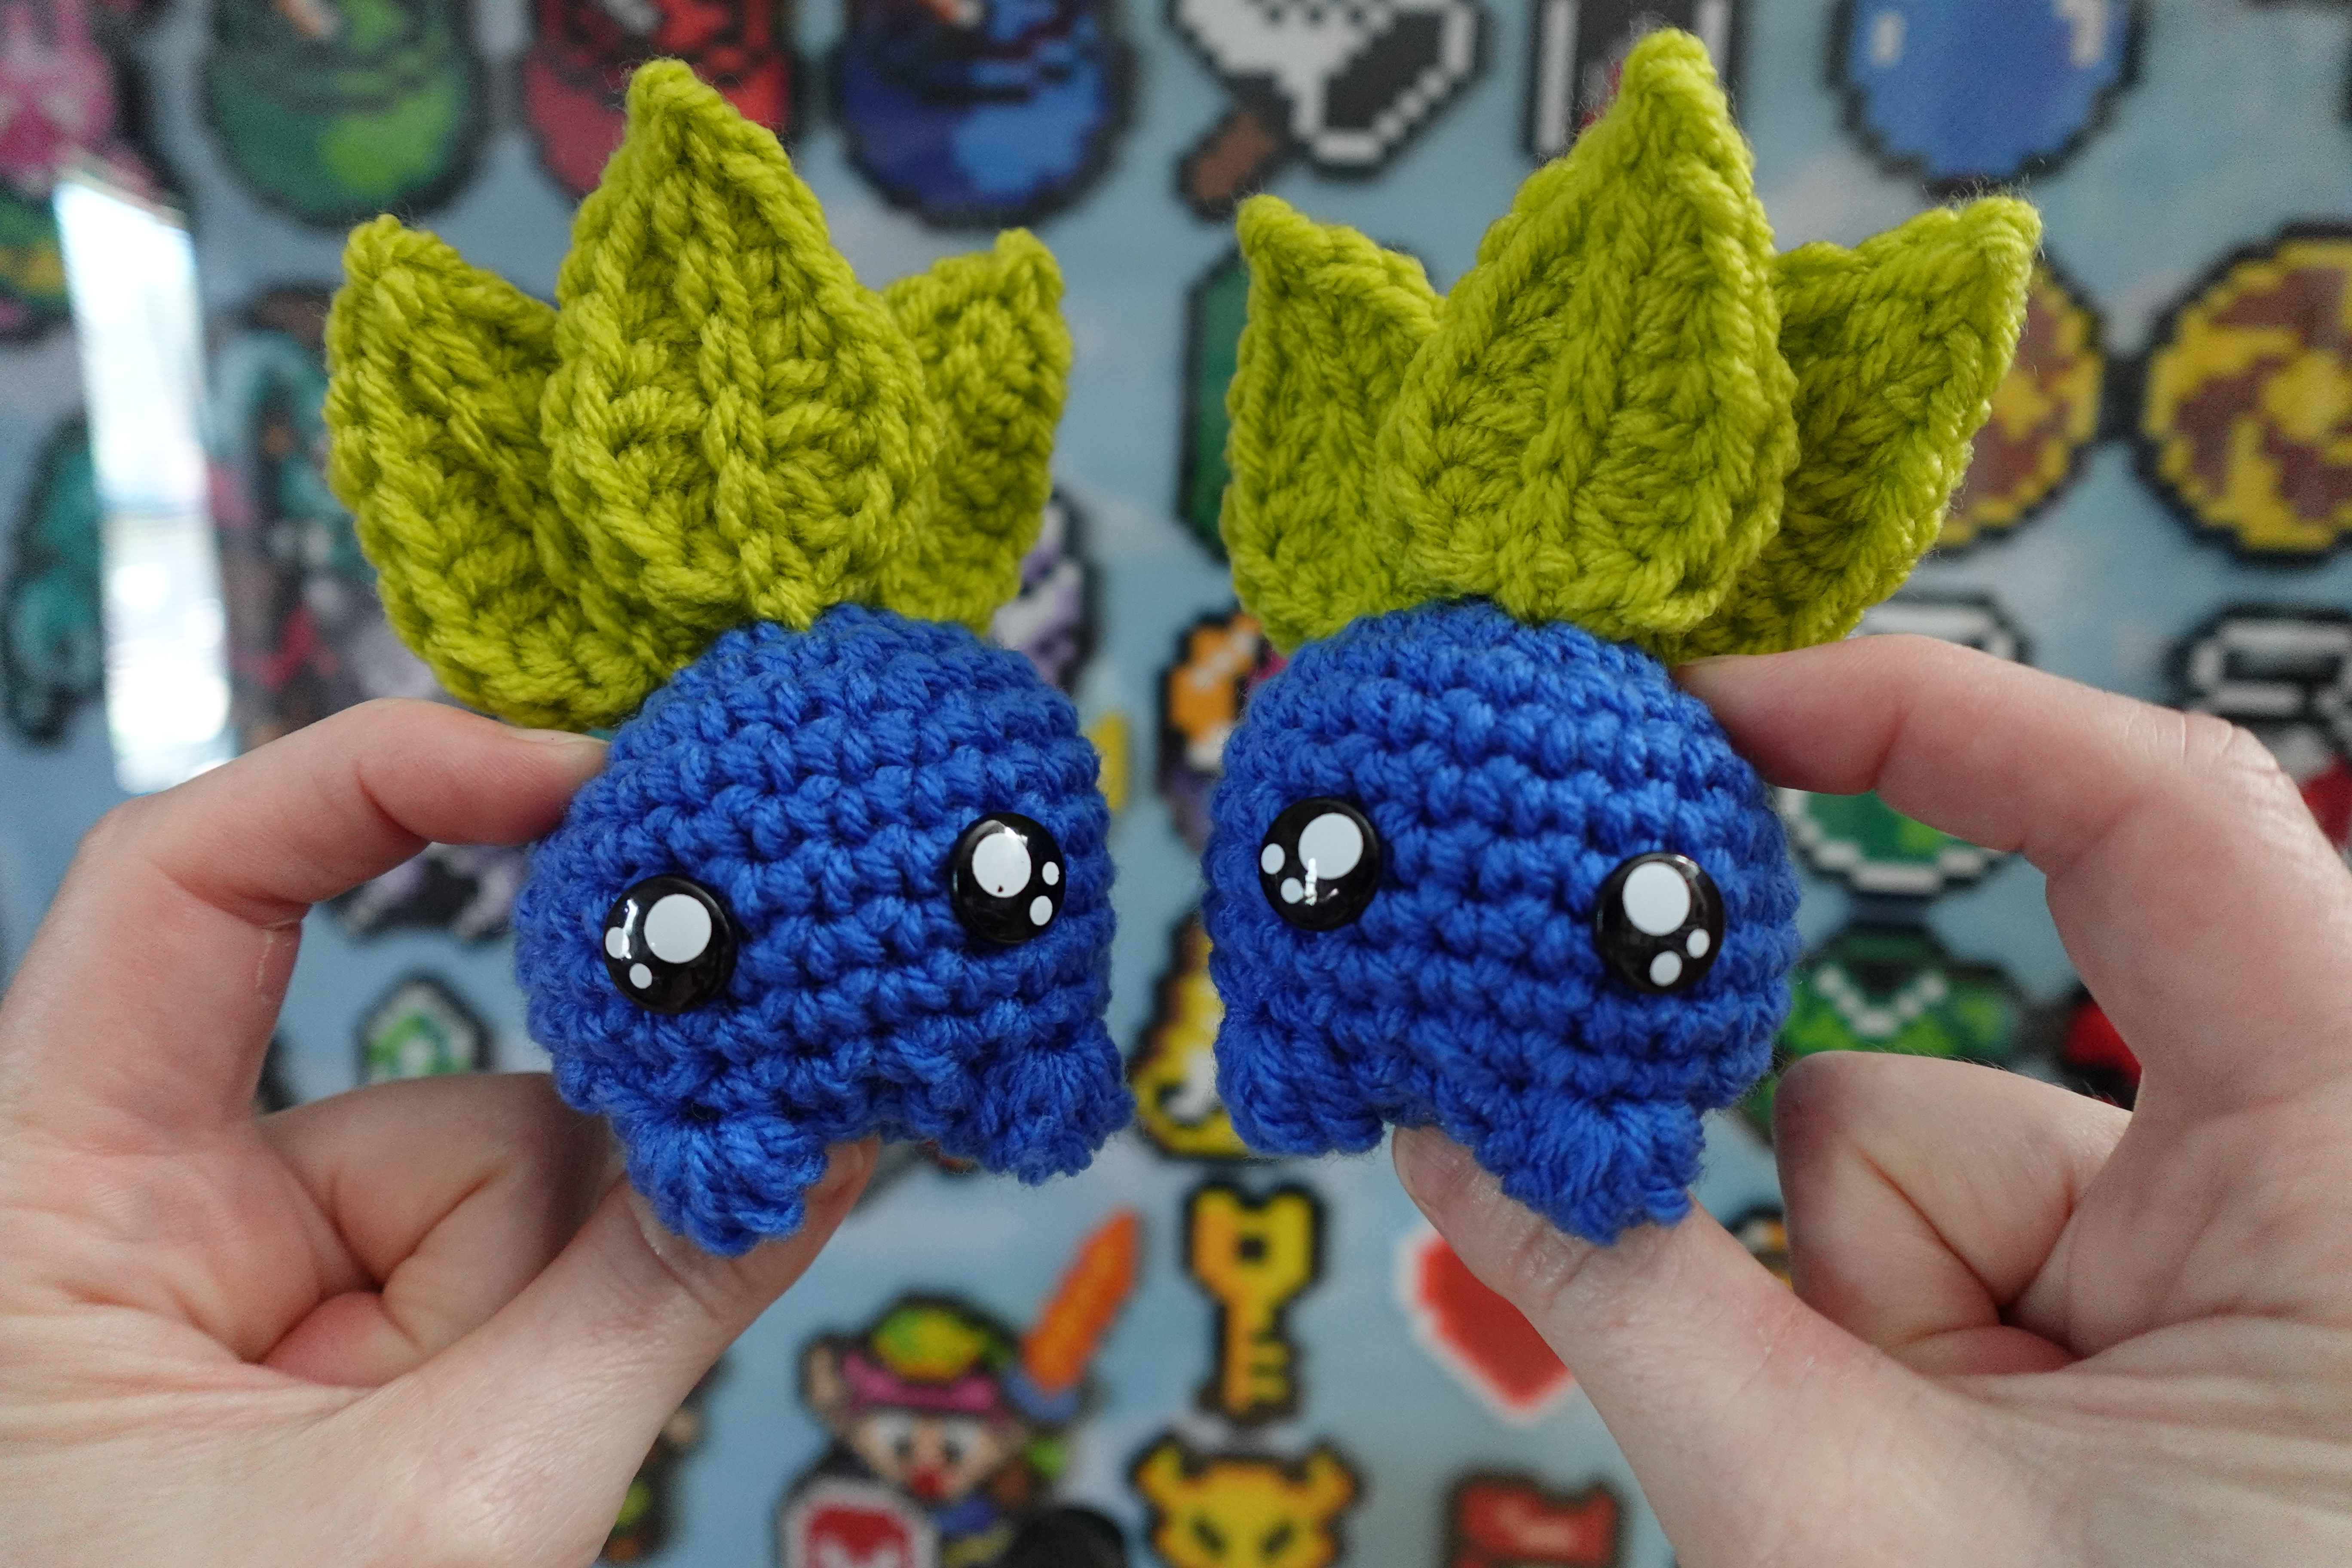
If you clicked the link and scrolled through, you might have noticed some of my earliest Oddish plushies on display. This seriously is one of my oldest patterns, and it’s one that I’ve worked and reworked a few times to get it where I’m happy with it. So if you’re a fellow Pokemon enjoyer who wants to make this little guy for your collection, or are looking to add something nerdy to your crochet market table, I humbly present this little dude. He usually sells out at each event I take him to, and I’ve got 8 years of market data to back me up!
(Note: For my markets, I also purchase baby terracotta pots – 2 inch seedling pots to be precise – to put them in. Made with worsted weight yarn and a 4mm hook, they fit perfectly inside of the little pot and look like a faux plant. Not a requirement though, as they sit up just fine by themselves, too.)
YouTube Pattern Video
Below you’ll find the pattern video. I’ve very recently started using YouTube’s “Chapters” feature to sort each individual instruction (rounds, sewing, sections, etc.) into a time stamped section. You should be able to see the chapters in the timeline/seek bar of the video below, but if you click over to YouTube, you’ll be able to pull the chapters up and move more easily between them.
As always, with the pattern write-up here on my blog, the written instructions are “bare bones” – they’re designed to work hand-in-hand with the video tutorial. With the addition of the chapters feature, it’s even easier to navigate the pattern. For example, if you’re struggling with Rnd 3 of the body, you can click directly on the chapter “Rnd 3” and crochet it along with me.
Materials
✩ Worsted weight yarn in blue and green, or your choice of weight and color – just remember to size hooks and accessories accordingly.
✩ 4mm crochet hook (or whatever size you need, based on the weight of yarn you choose)
✩ Your standard amigurumi items: tapestry/yarn needle(s), stitch marker, scissors, stuffing
✩ 12mm safety eyes – I like the shiny kind, which you can find here
✩ Optional: A 2 inch terracotta seedling pot. If you only need a few, Michael’s craft stores sell the perfect sized ones! However, if you’re planning to make more than a few for a market, I’d highly suggest grabbing them in bulk (I’ve had good luck with this company on Amazon)
Pattern Notes
All of my patterns are written with US terminology.
As with most amigurumi projects, your work will be formed by crocheting in a continuous spiral, with a stitch marker marking the beginning of each round. Any other construction style will be indicated in the pattern!
Pattern level:
Abbreviations
These are my most commonly used abbreviations. Any special stitches or exceptions will be denoted in the pattern!
| rnd(s) | round(s) |
| sc | single crochet |
| MR | magic ring |
| ( ) | number of stitches at the end of each round |
| * * | repeat instructions, in the order they appear, the indicated amount of times |
| inc | increase (typically single crochet – otherwise denoted) |
| BLO | work in the back loop only |
| FLO | work in the front loop only |
| slp st | slip stitch |
| dc | double crochet |
| hdc | half double crochet |
| ch | chain |
| st(s) | stitch(es) |
Pattern
Body
In blue yarn, form MR
Rnd 1: 6 sc in MR (6)
Rnd 2: inc in each st around (12)
Rnd 3: *1 sc, inc* x 6 (18)
Rnd 4: *2 sc, inc* x 6 (24)
Rnd 5-9: sc around
Rnd 10: *2sc, dec* x 6 (18)
Rnd 11: 1 sc, dec, 5 dc bobble, dec, dec, 5 dc bobble, sc, dec *1sc, dec* x 2 (12)
Add eyes in line with the feet between rnd 7 & 8. Stuff here!
Rnd 12: dec in each st around (6)
Fasten off by slp st to next st, then cut a tail to sew with. Use tail to sew through FLO of remaining 6 sts, then pull tight to cinch closed. Tie a surface knot, and weave tail in.
Leaves
Make 3 of these!
In green, ch 6.
In 2nd ch from hook, 1 slp st, 1 sc, 1 hdc, in next st 1 hdc & 1 dc, then 6 dc around bottom of ch (I place 3 dc in the first side of the chain then flip around the bottom and place the remaining 3).
Then reverse order back up the other side of the chain: in next st 1 dc & 1 hdc, 1 hdc, 1 sc, 1 slp st.
Sc both sides of leaf together, working through the slp st on the other side, then slp st down center of chain.
Cut long tail on each leaf and use it to attach them to the top of the body. First leaf is attached centered and 2 rnds away from the MR. Other two are sewn on behind and at an angle, approx. between rnds 2 & 3.
Complete!
As always, thanks for tuning in. If you haven’t already checked out my YouTube page, I’d be forever grateful if you’d consider subscribing or watching my other tutorial videos. I try to post twice a month with a new tutorial!
Normal, obligatory legal banter:
Please, if you’d like to share this pattern, link folks directly to this blog page, or to the video on YouTube. I work really hard on my patterns and post them for free – please don’t copy my stuff and sell it as your own pattern! You can make and sell this pattern – and while I would love a mention on the listing or a link back to my blog, it’s not a requirement. It’d just be really appreciated 🥺
Have an Instagram and want to post your new make? Tag me (@pixeledpeach) so I can see and promote your page!

-Missy

